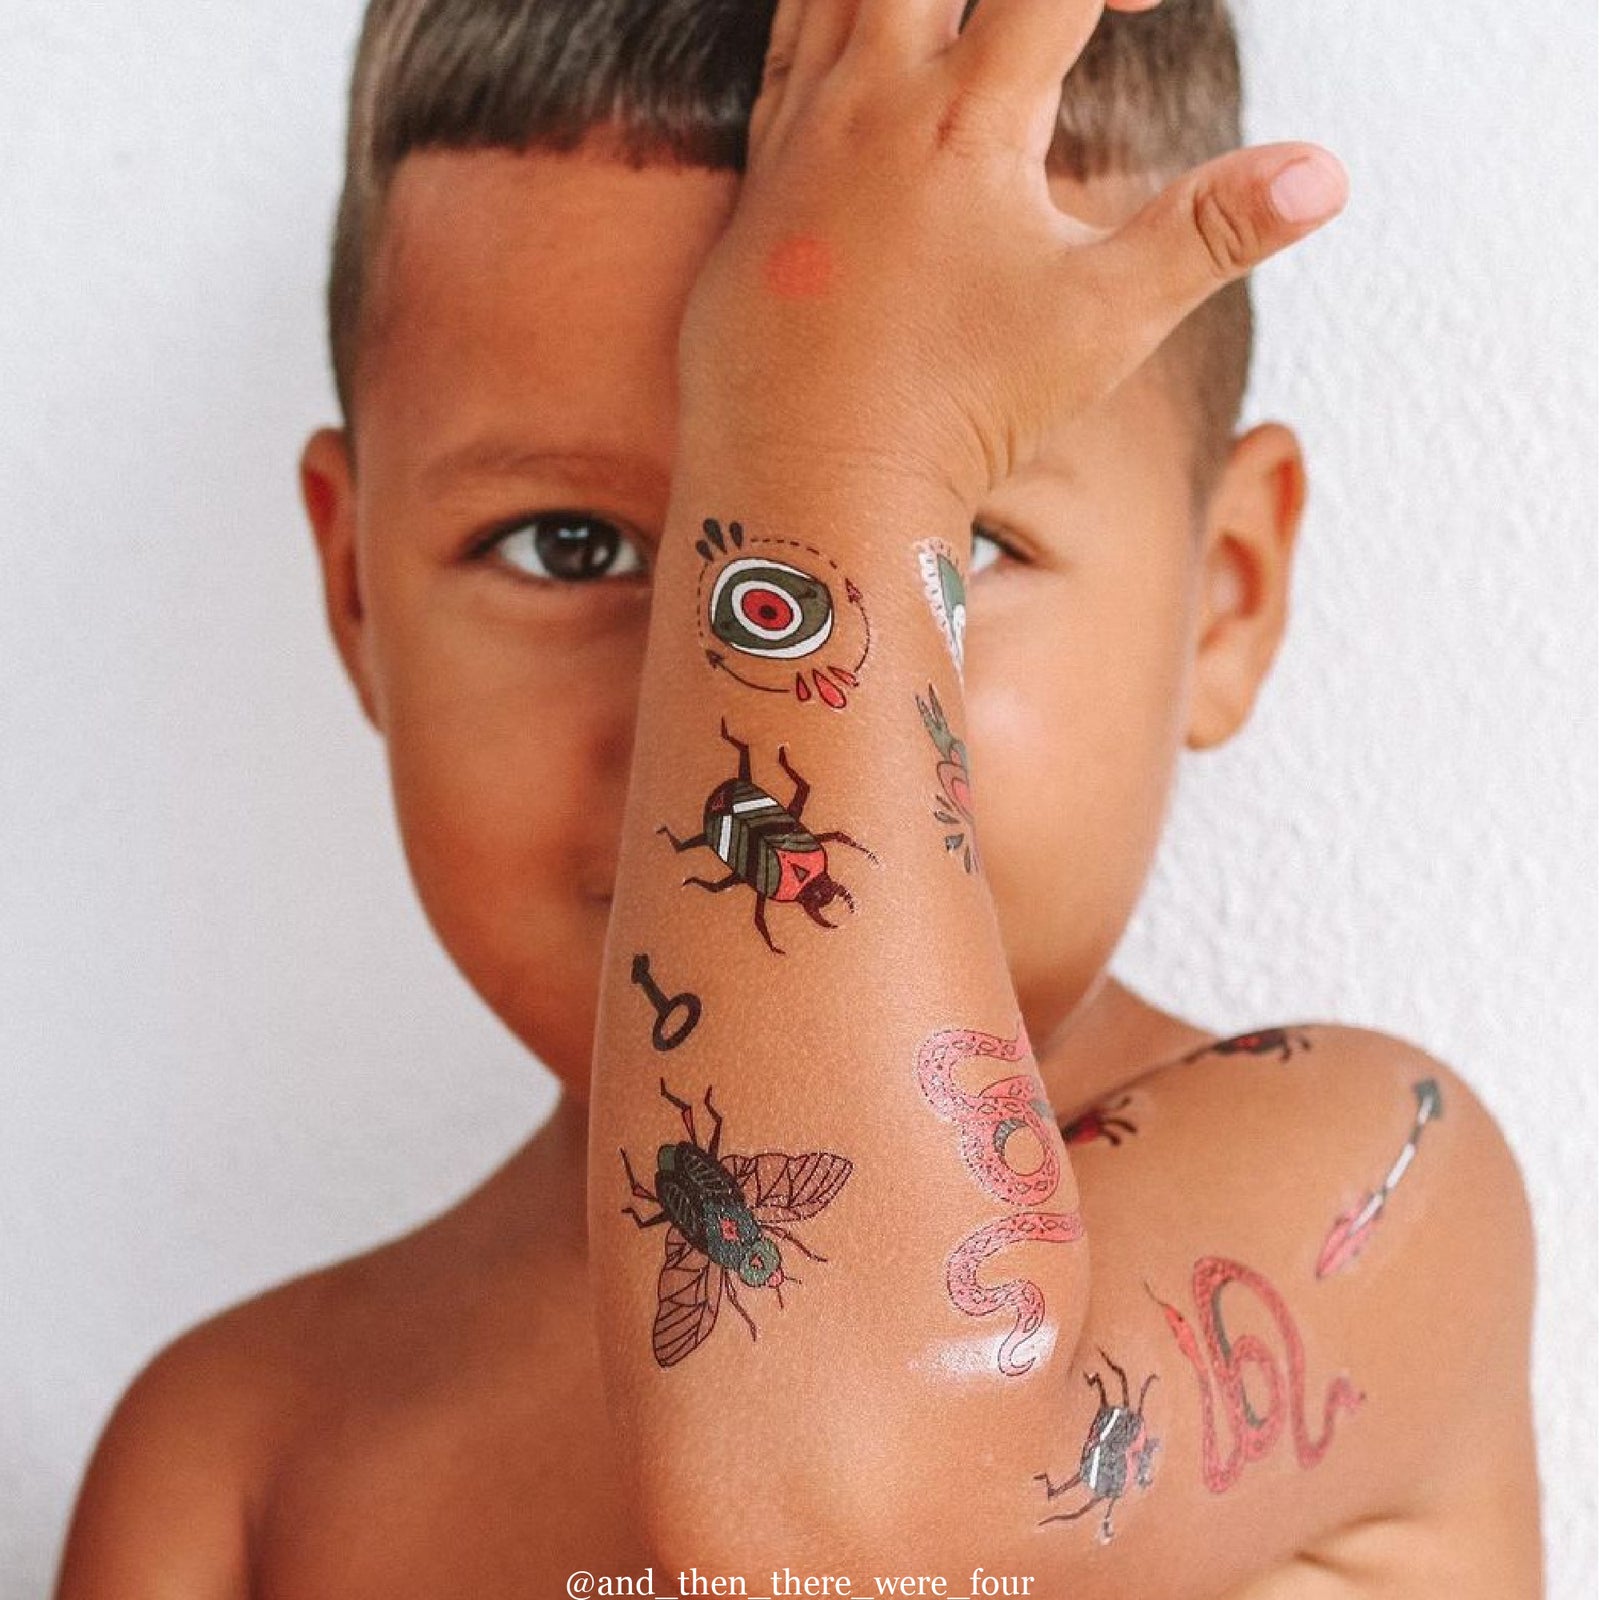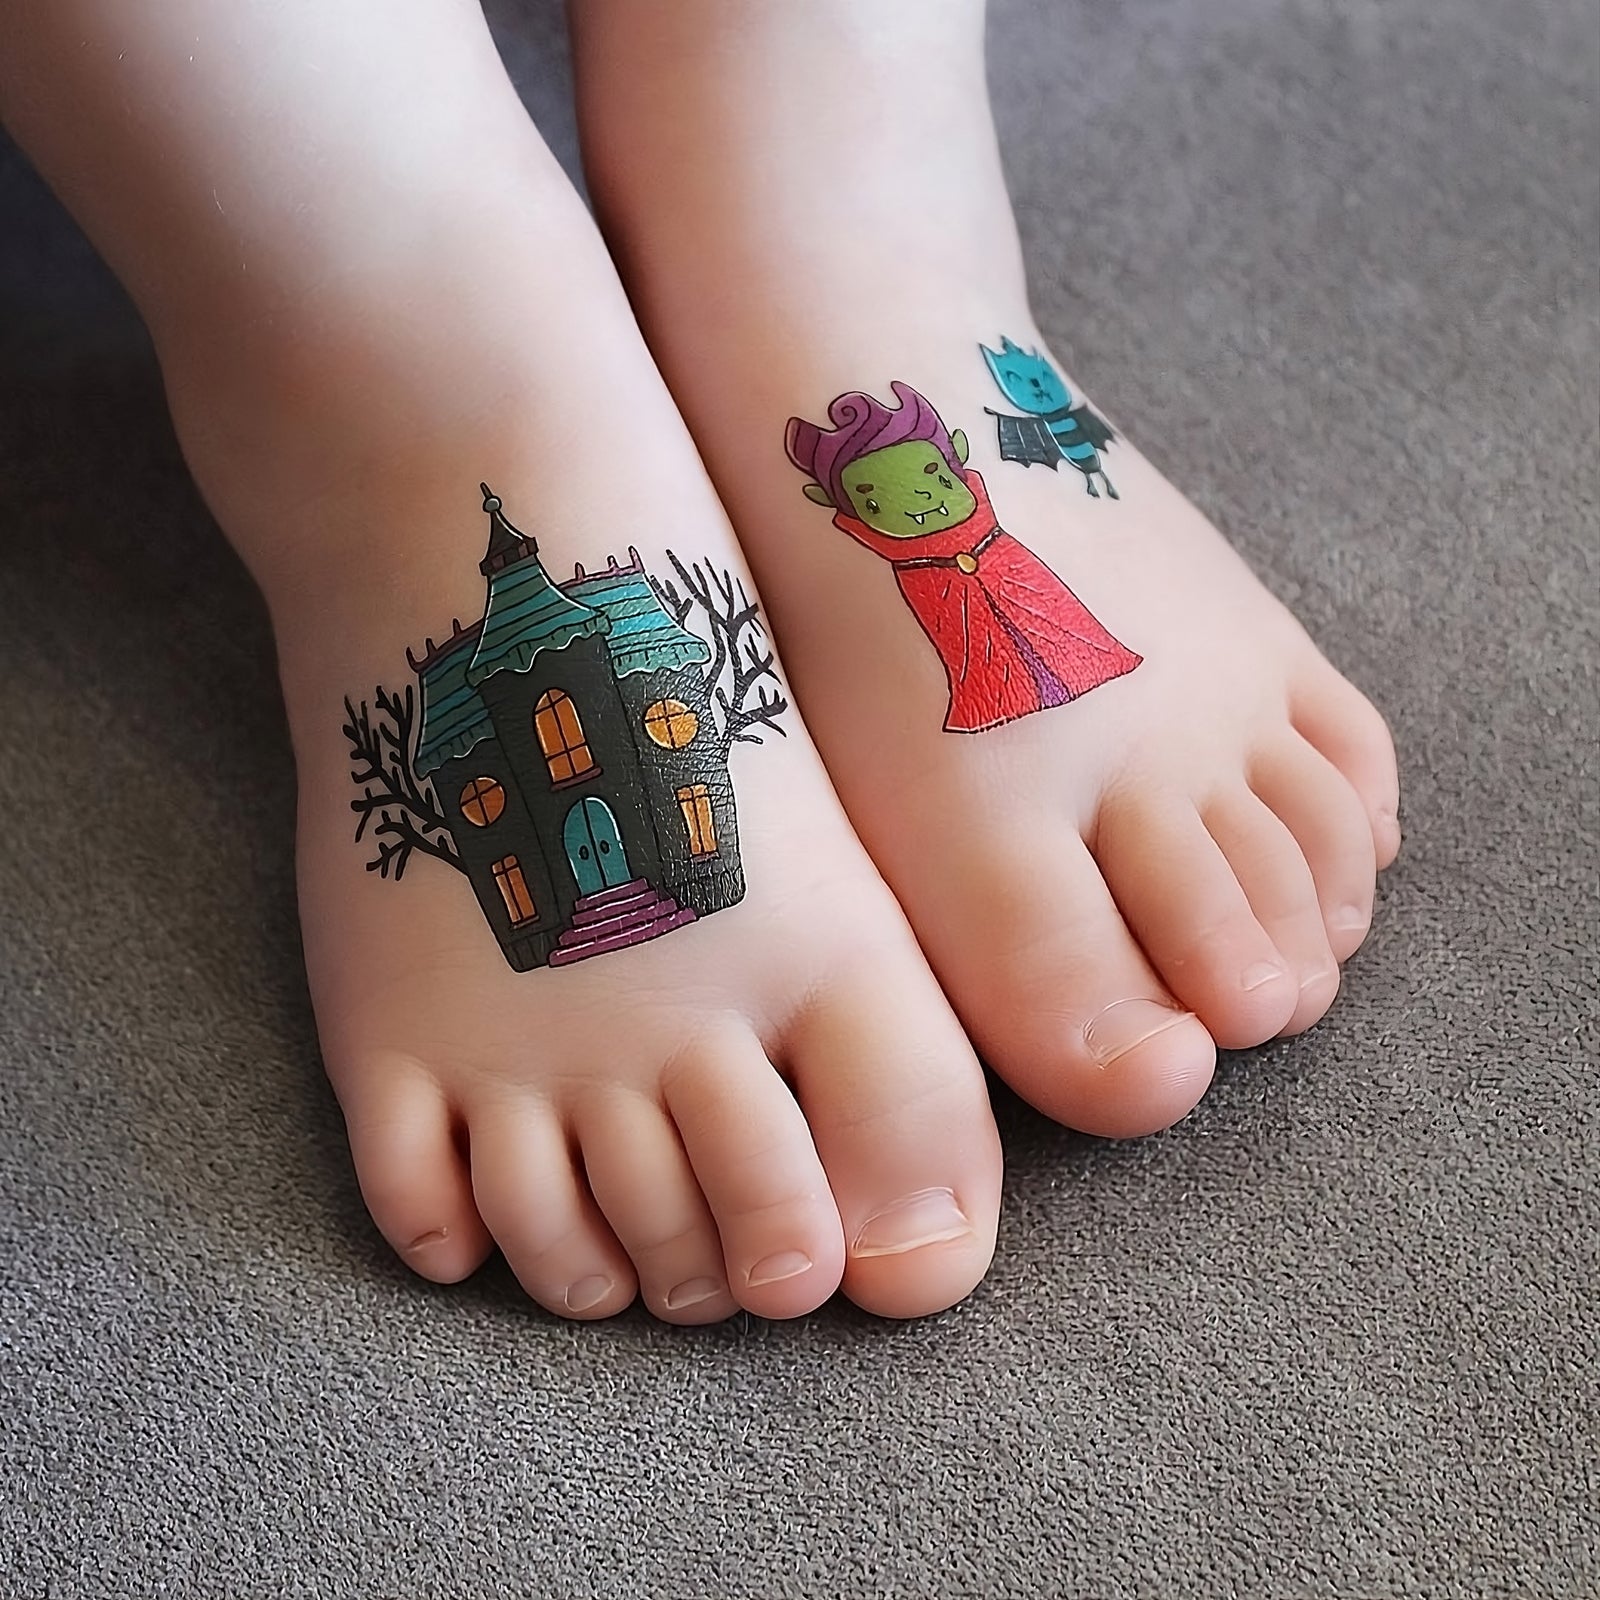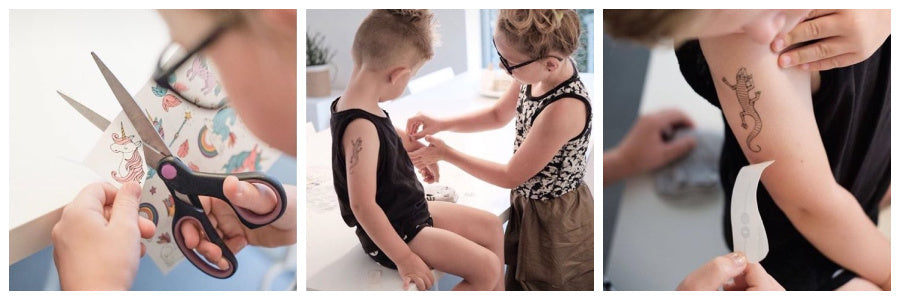
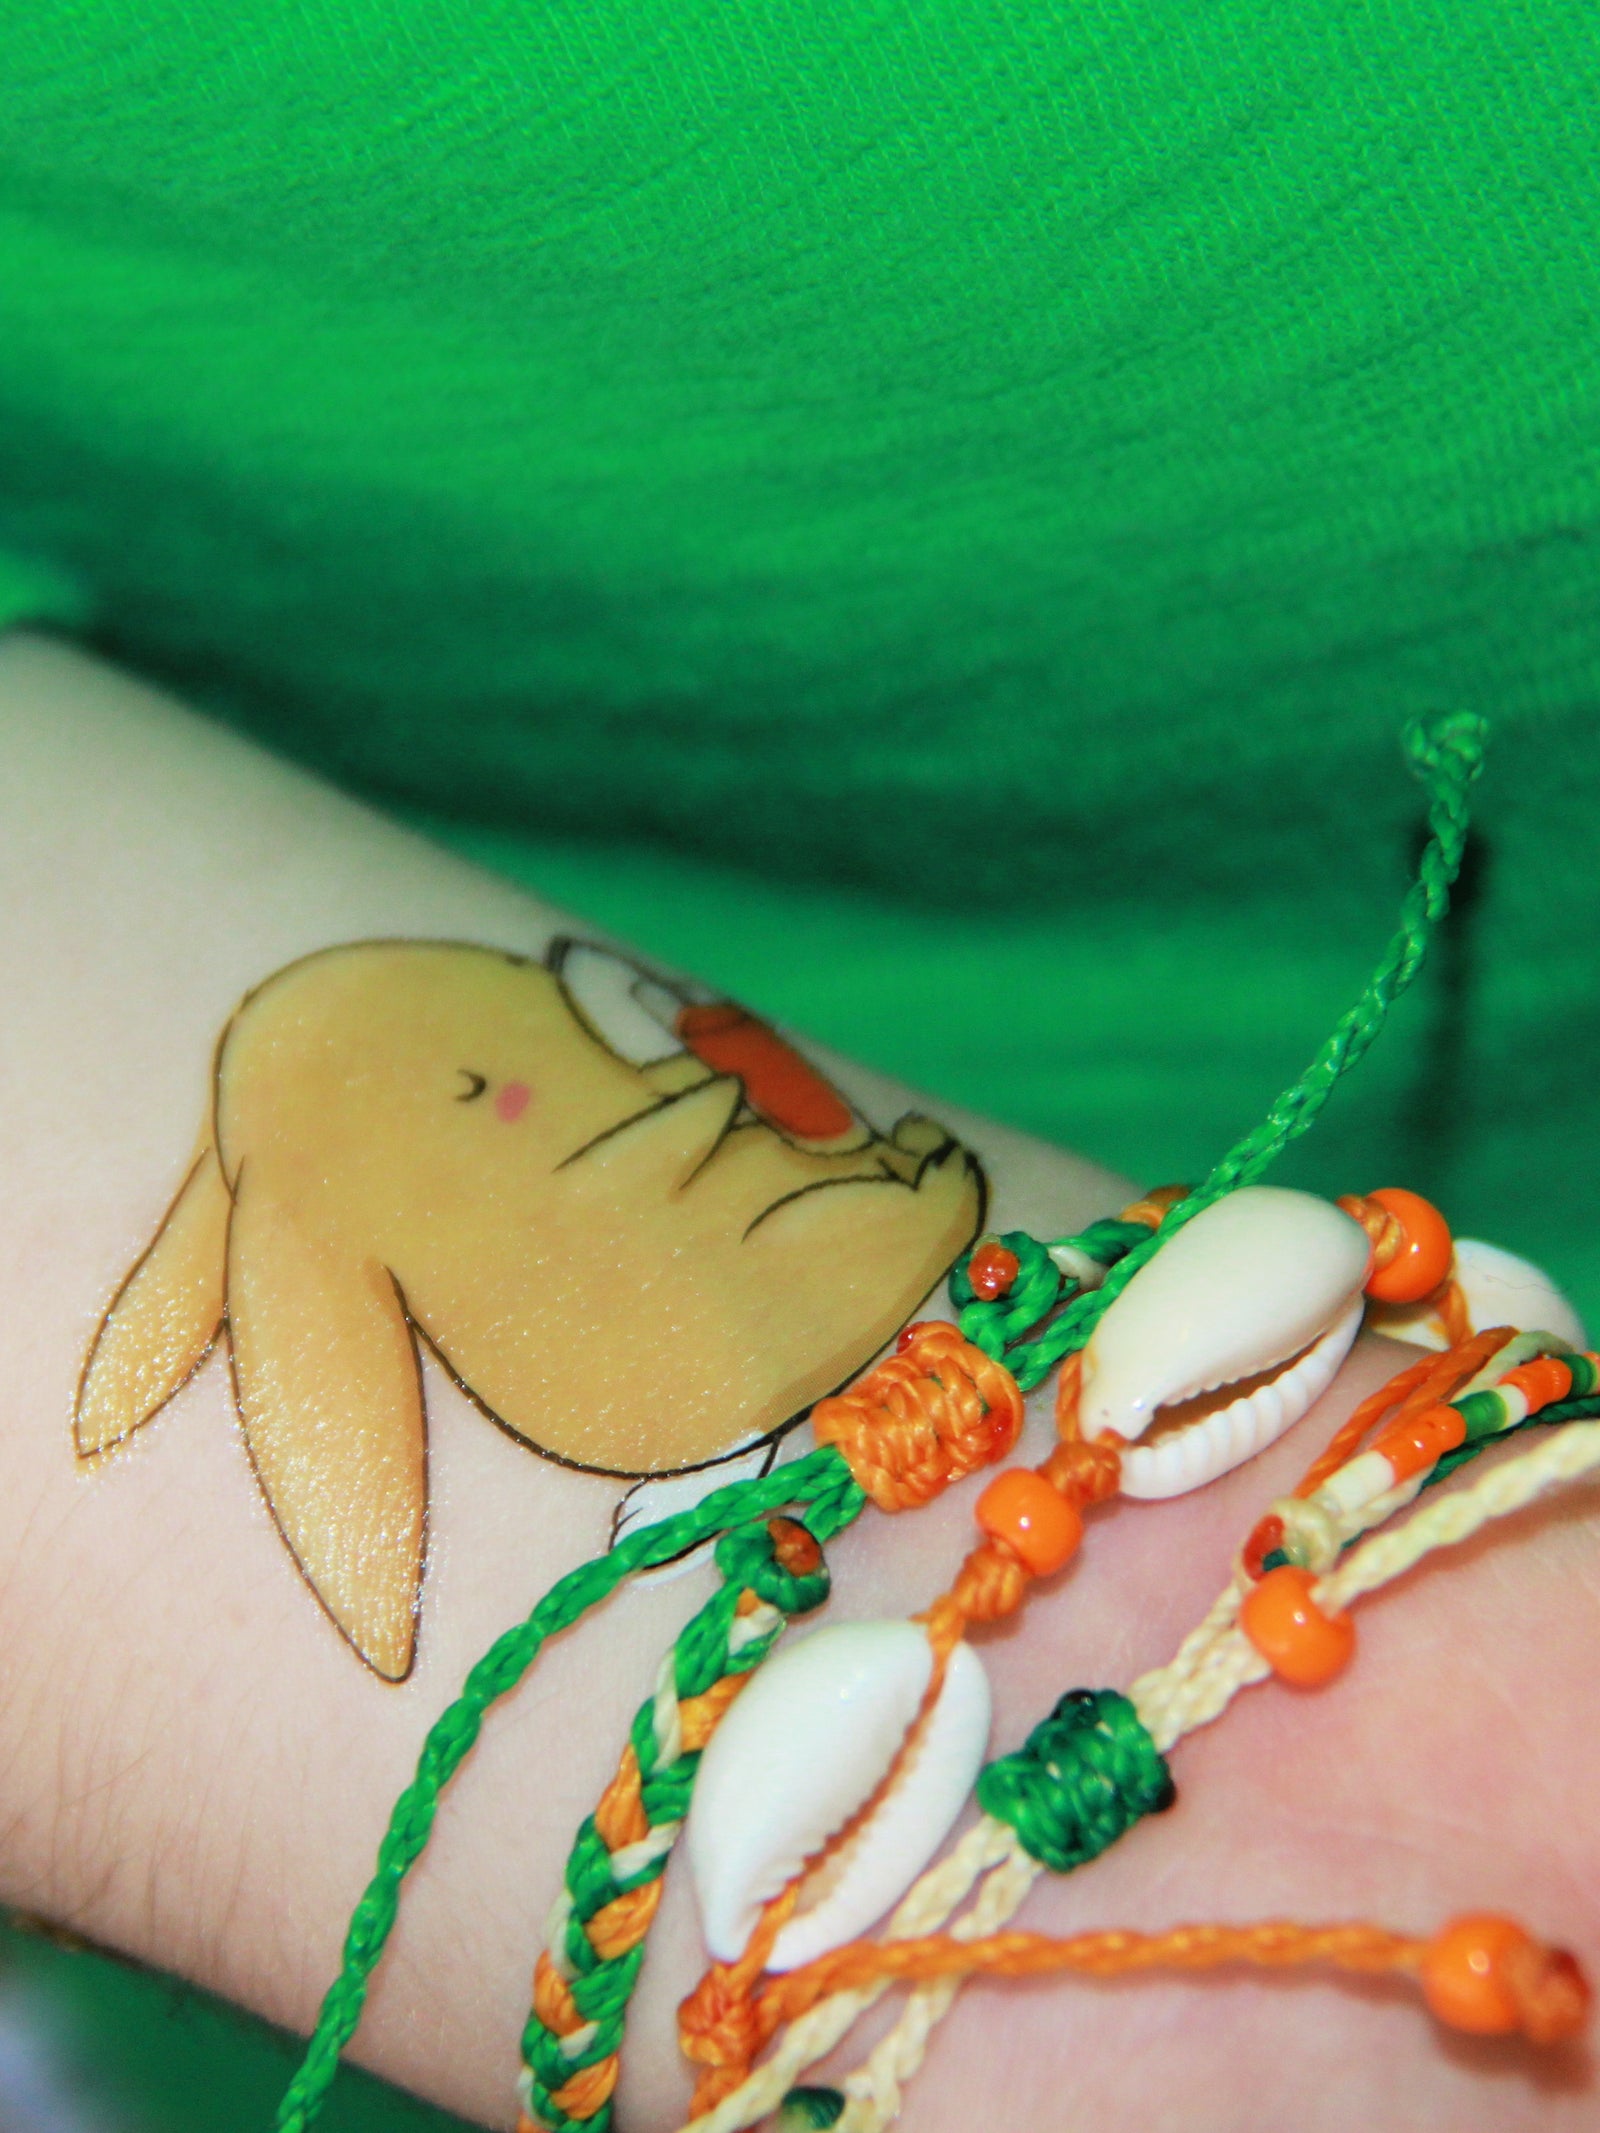
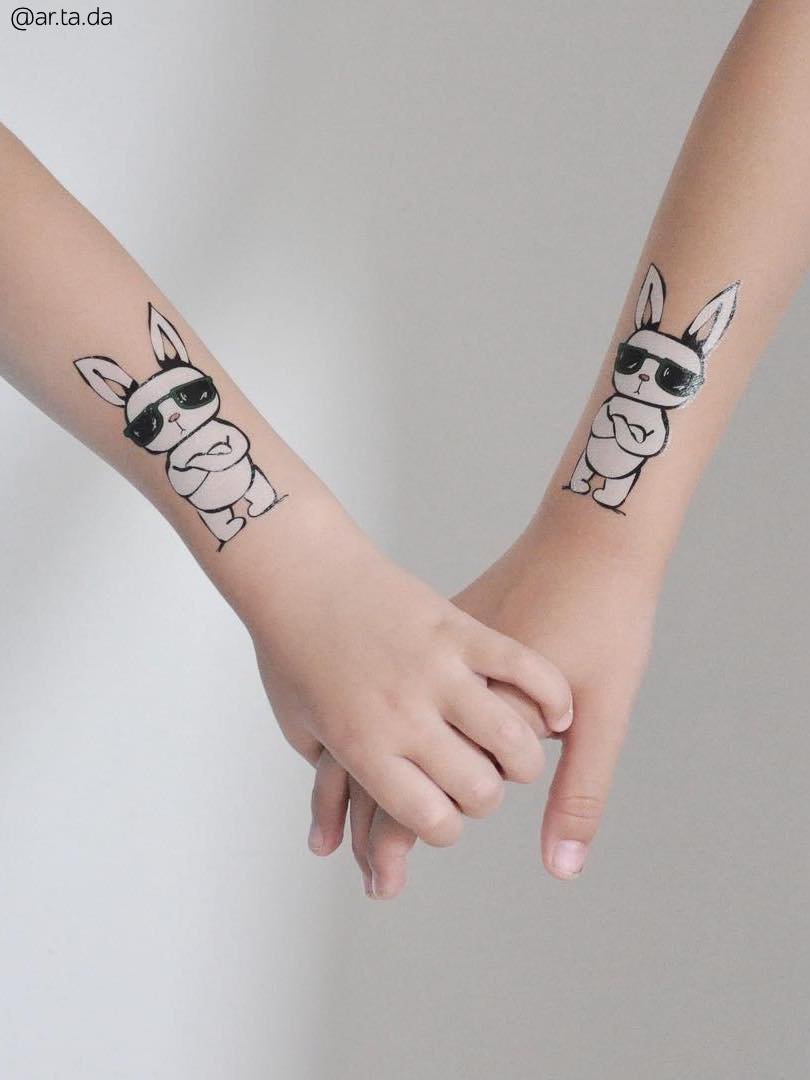
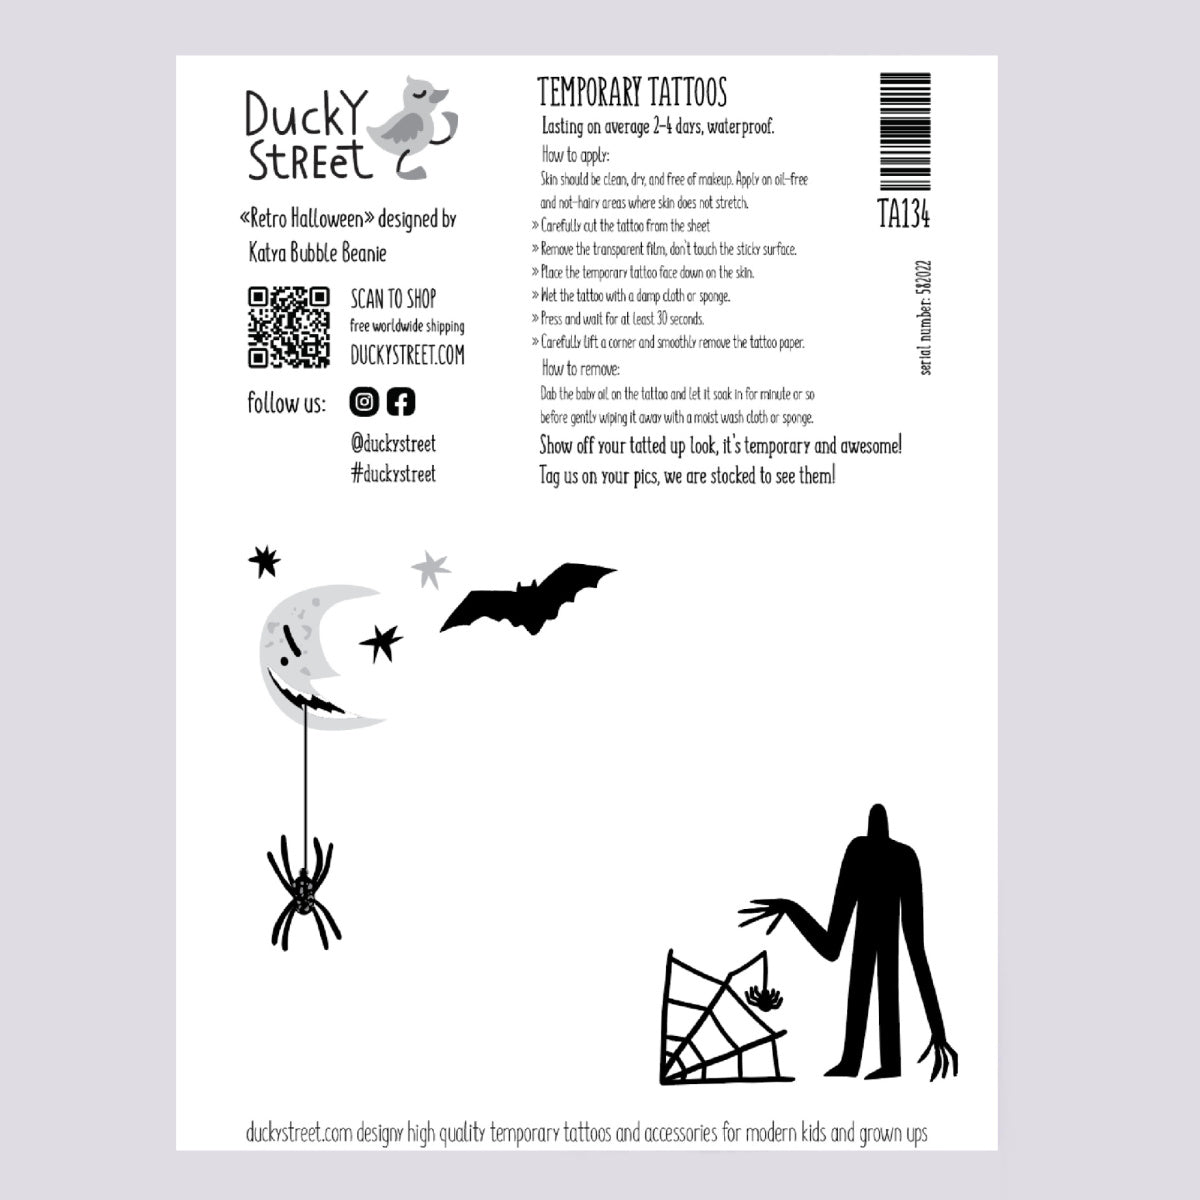
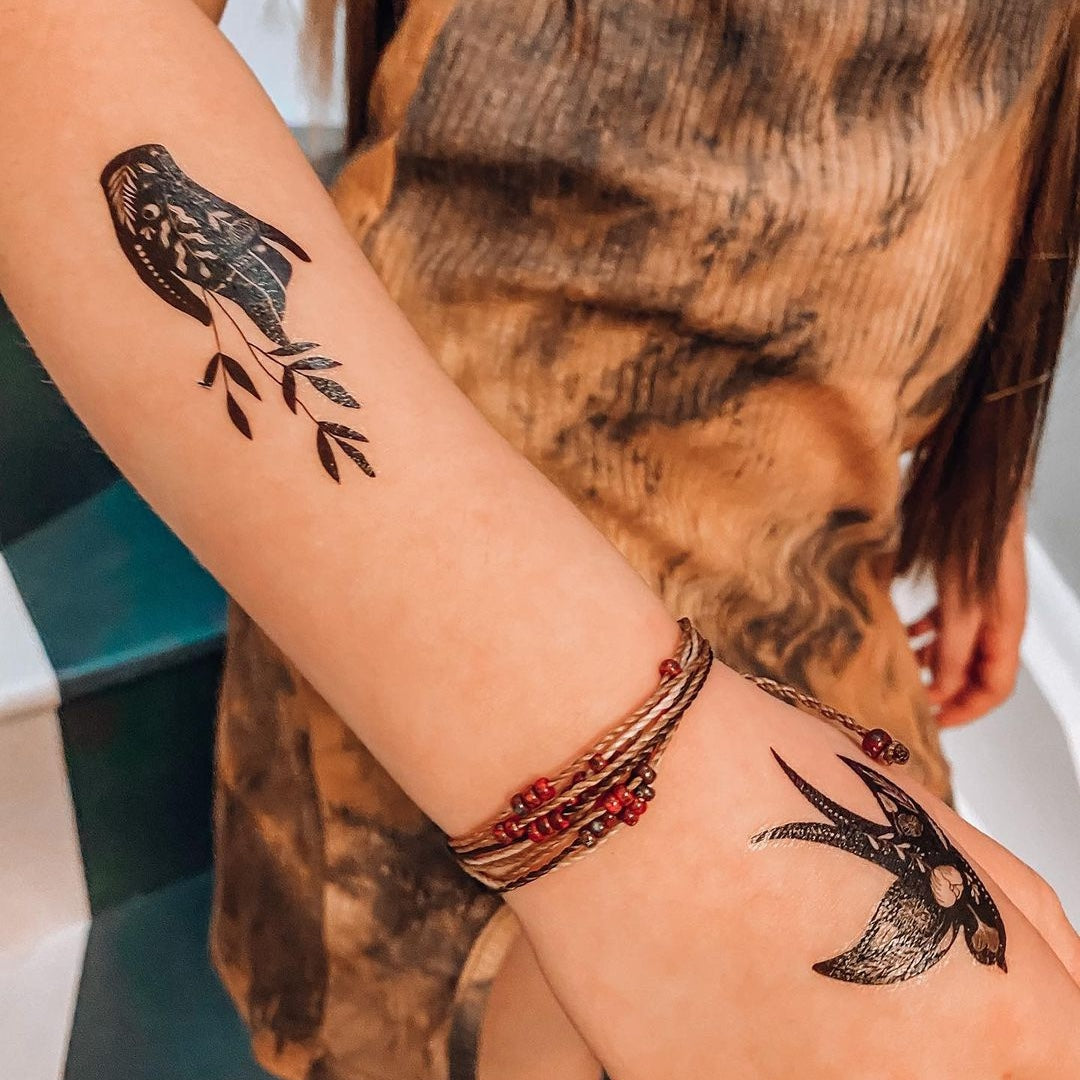
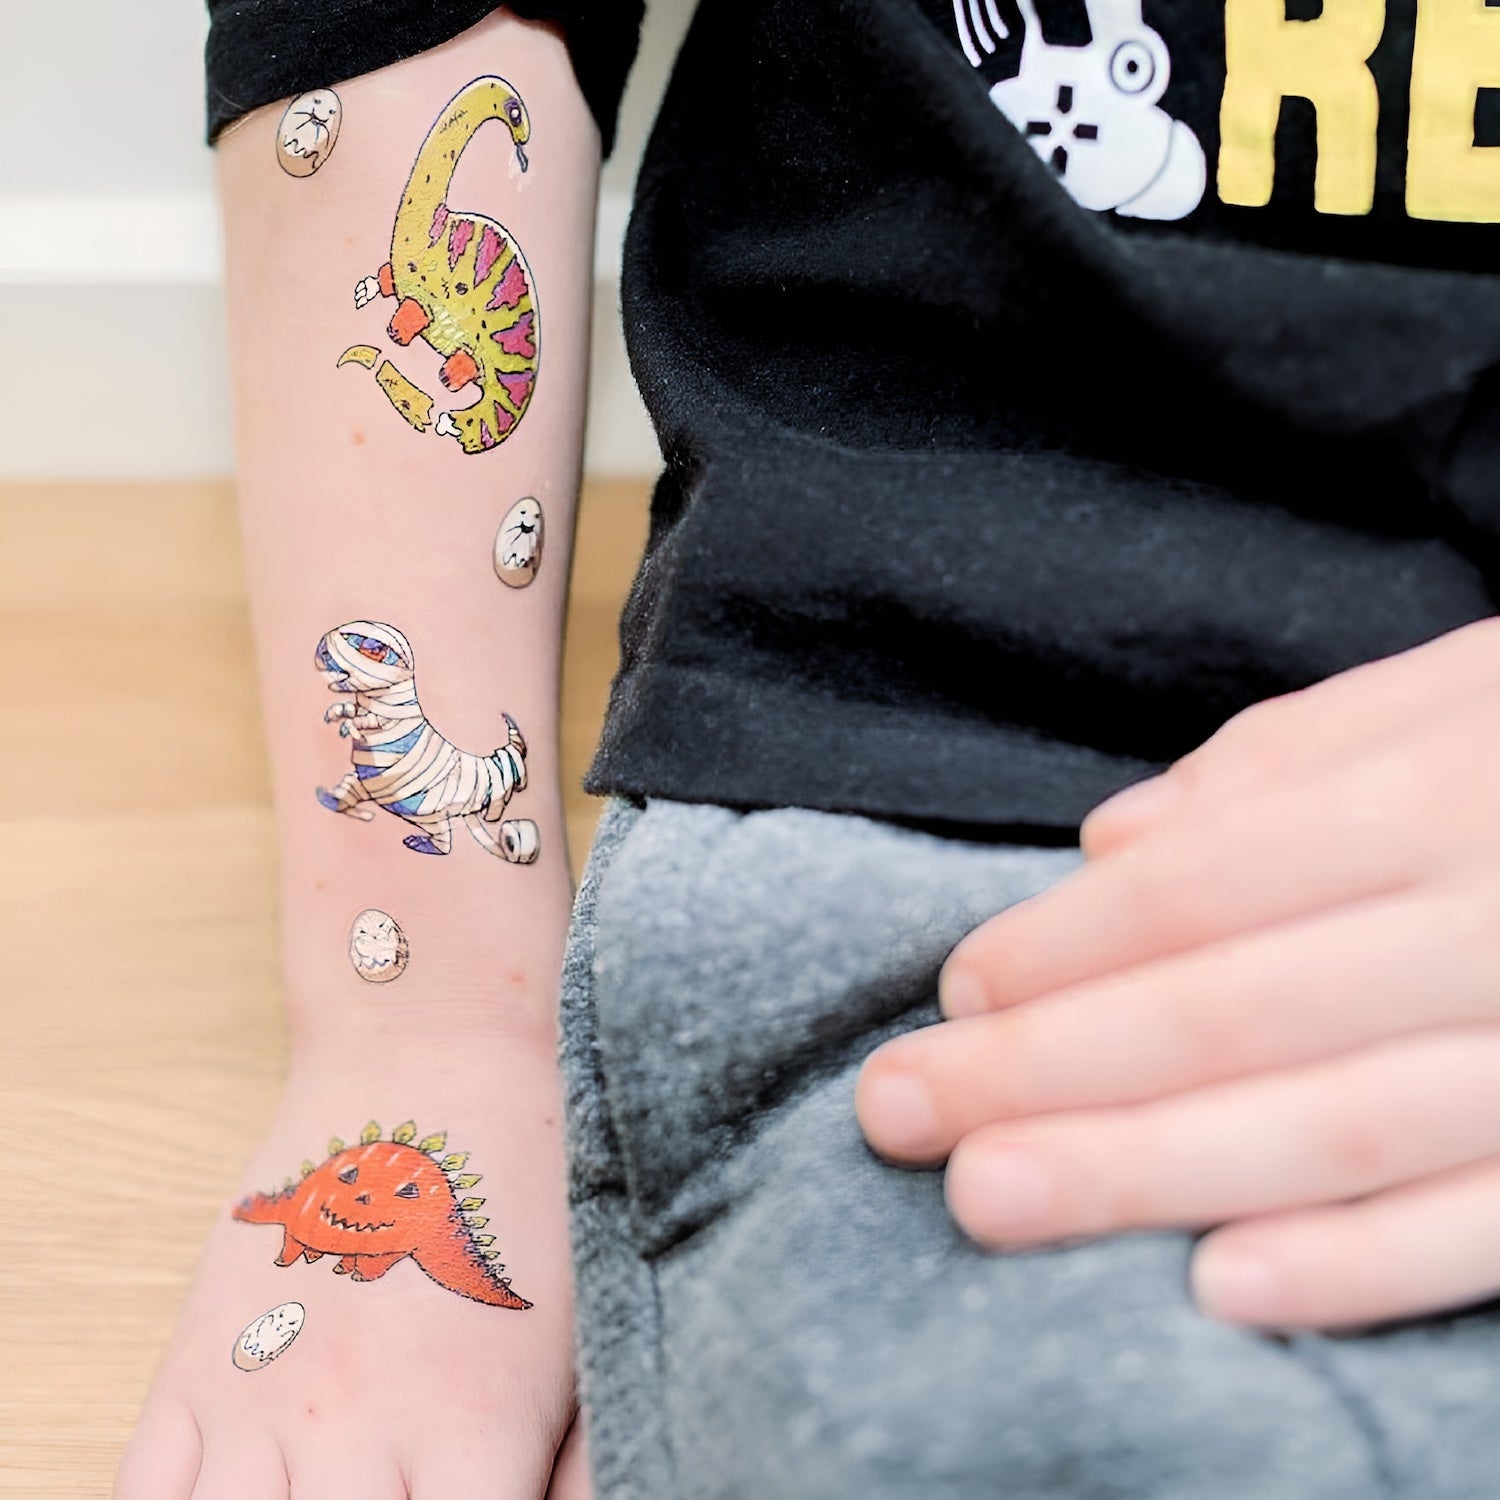
APPLY
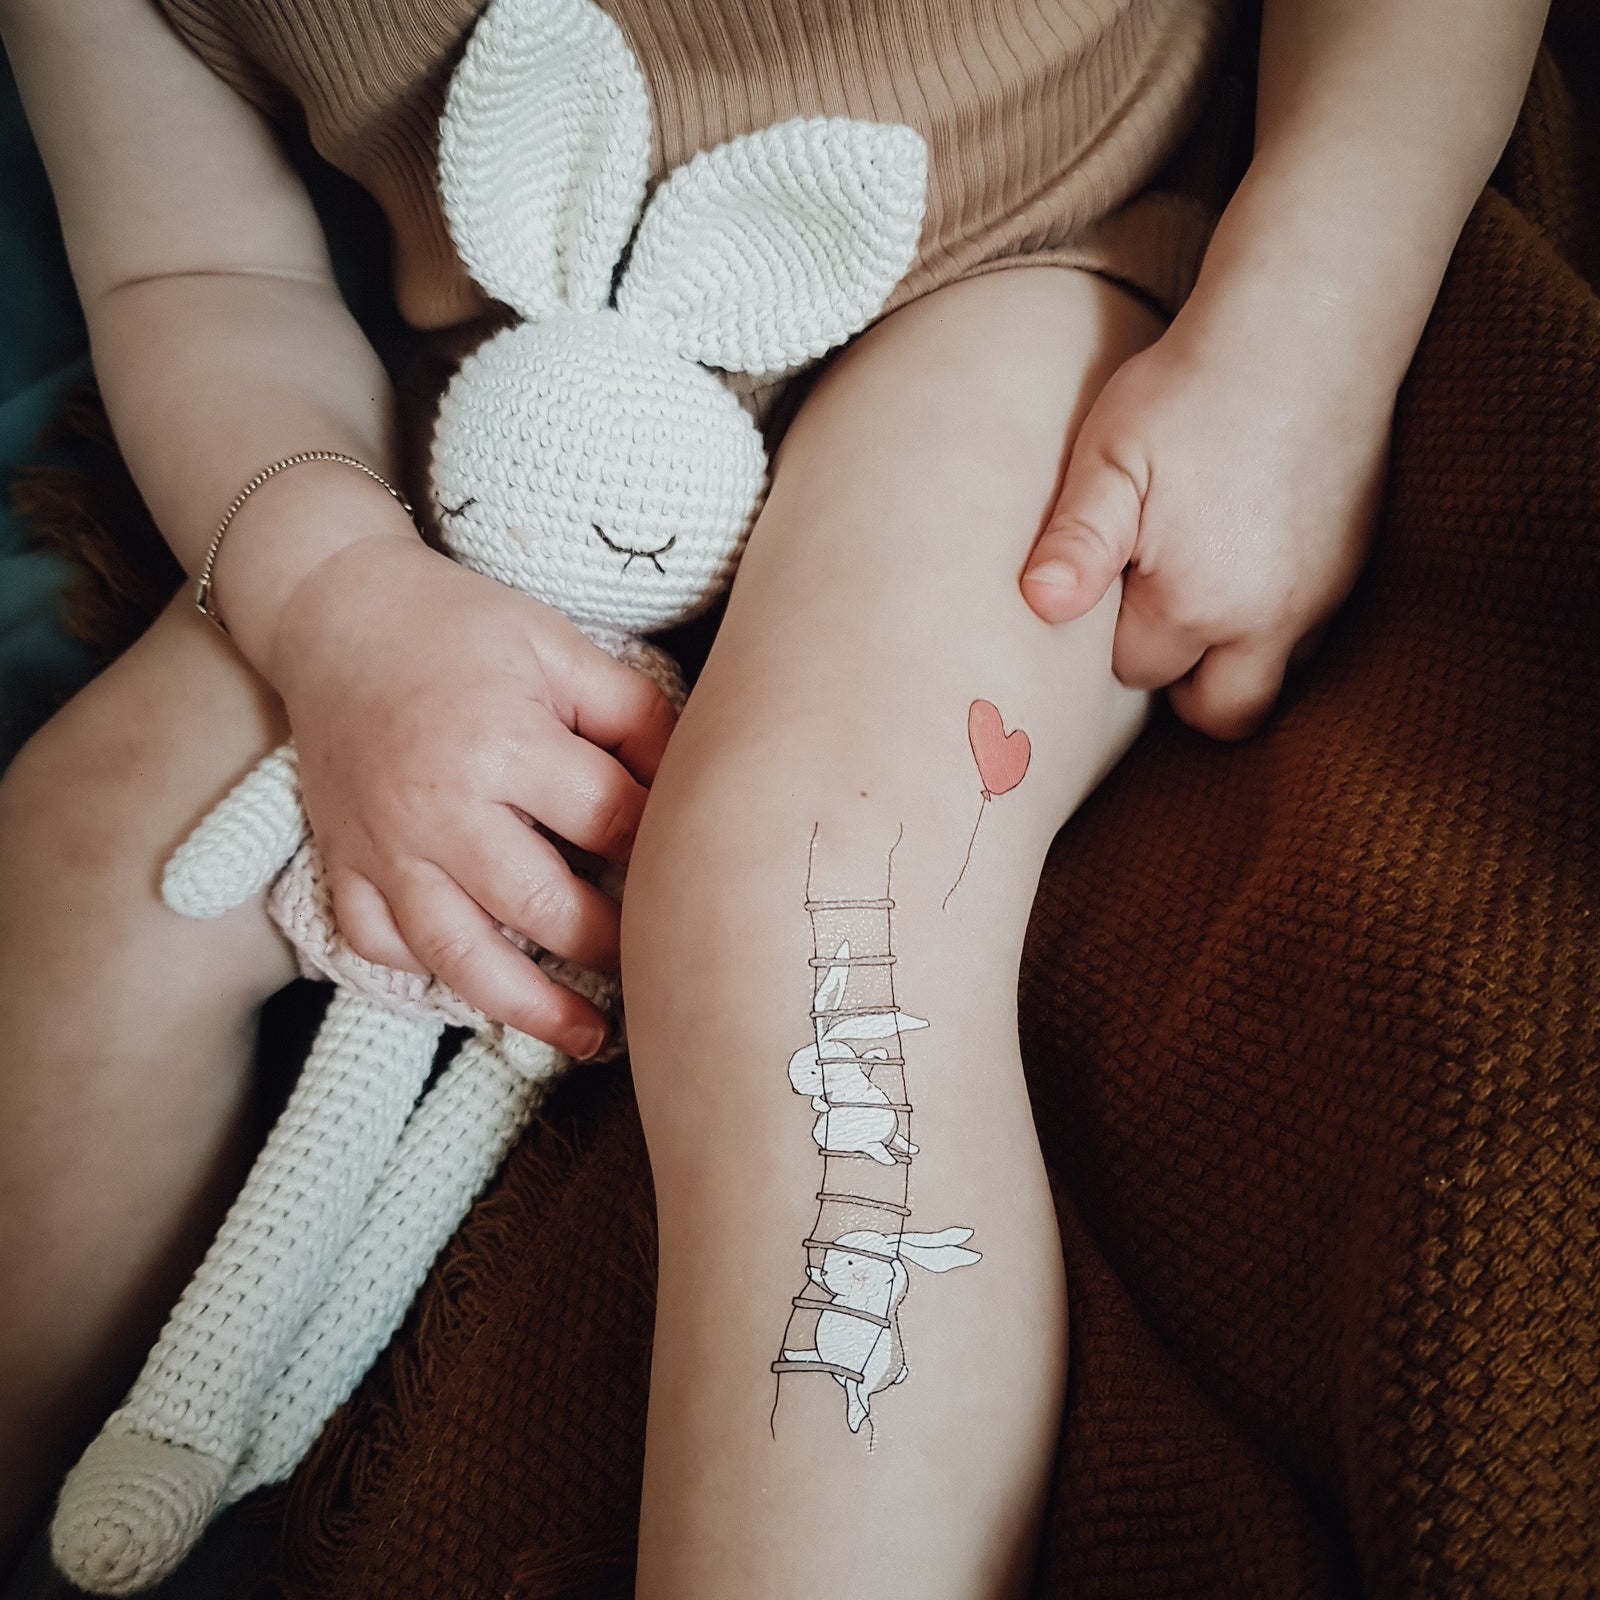
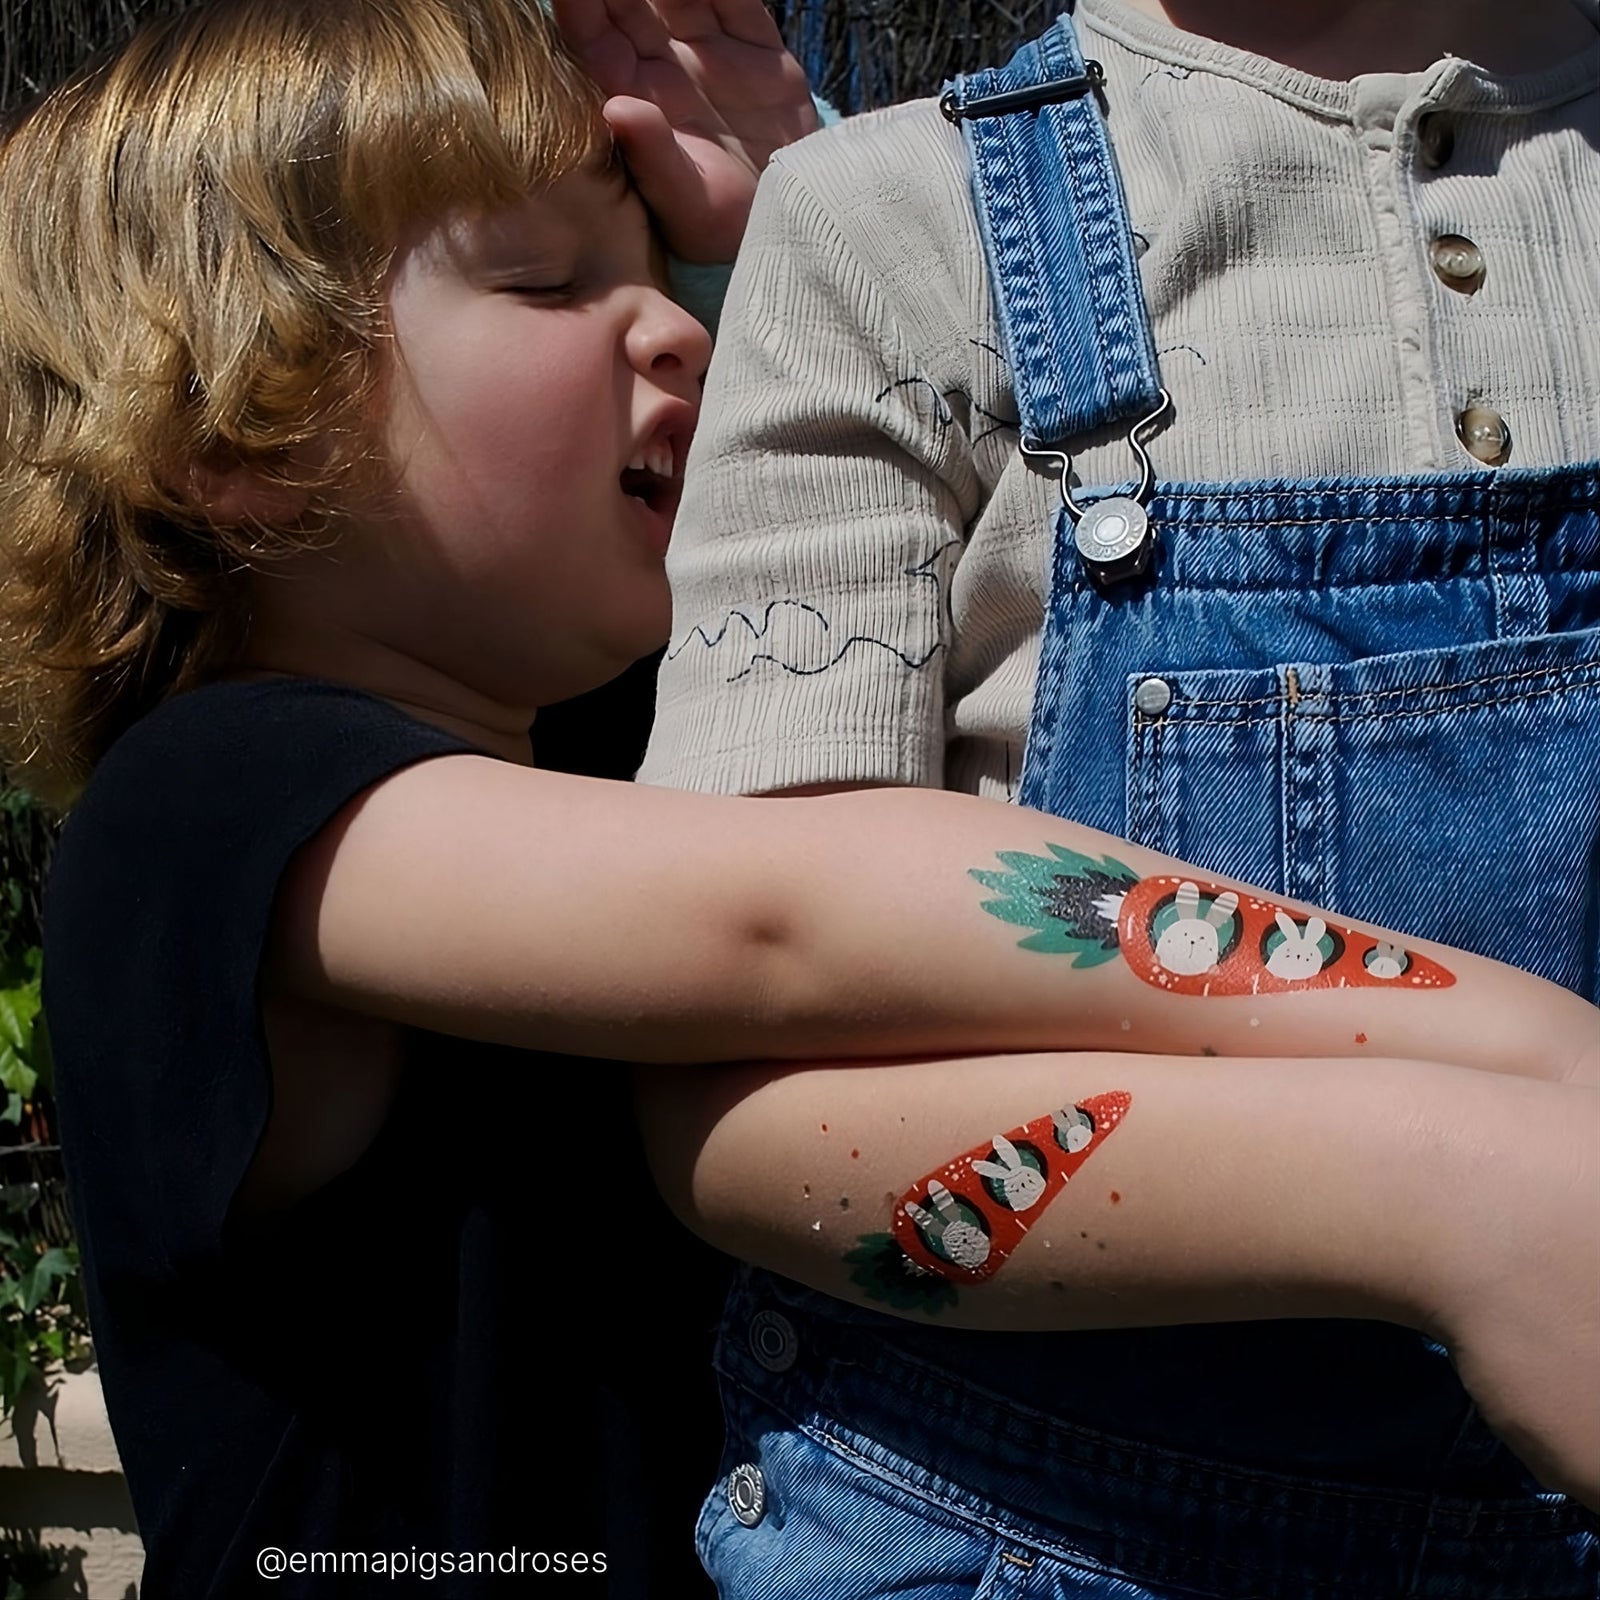
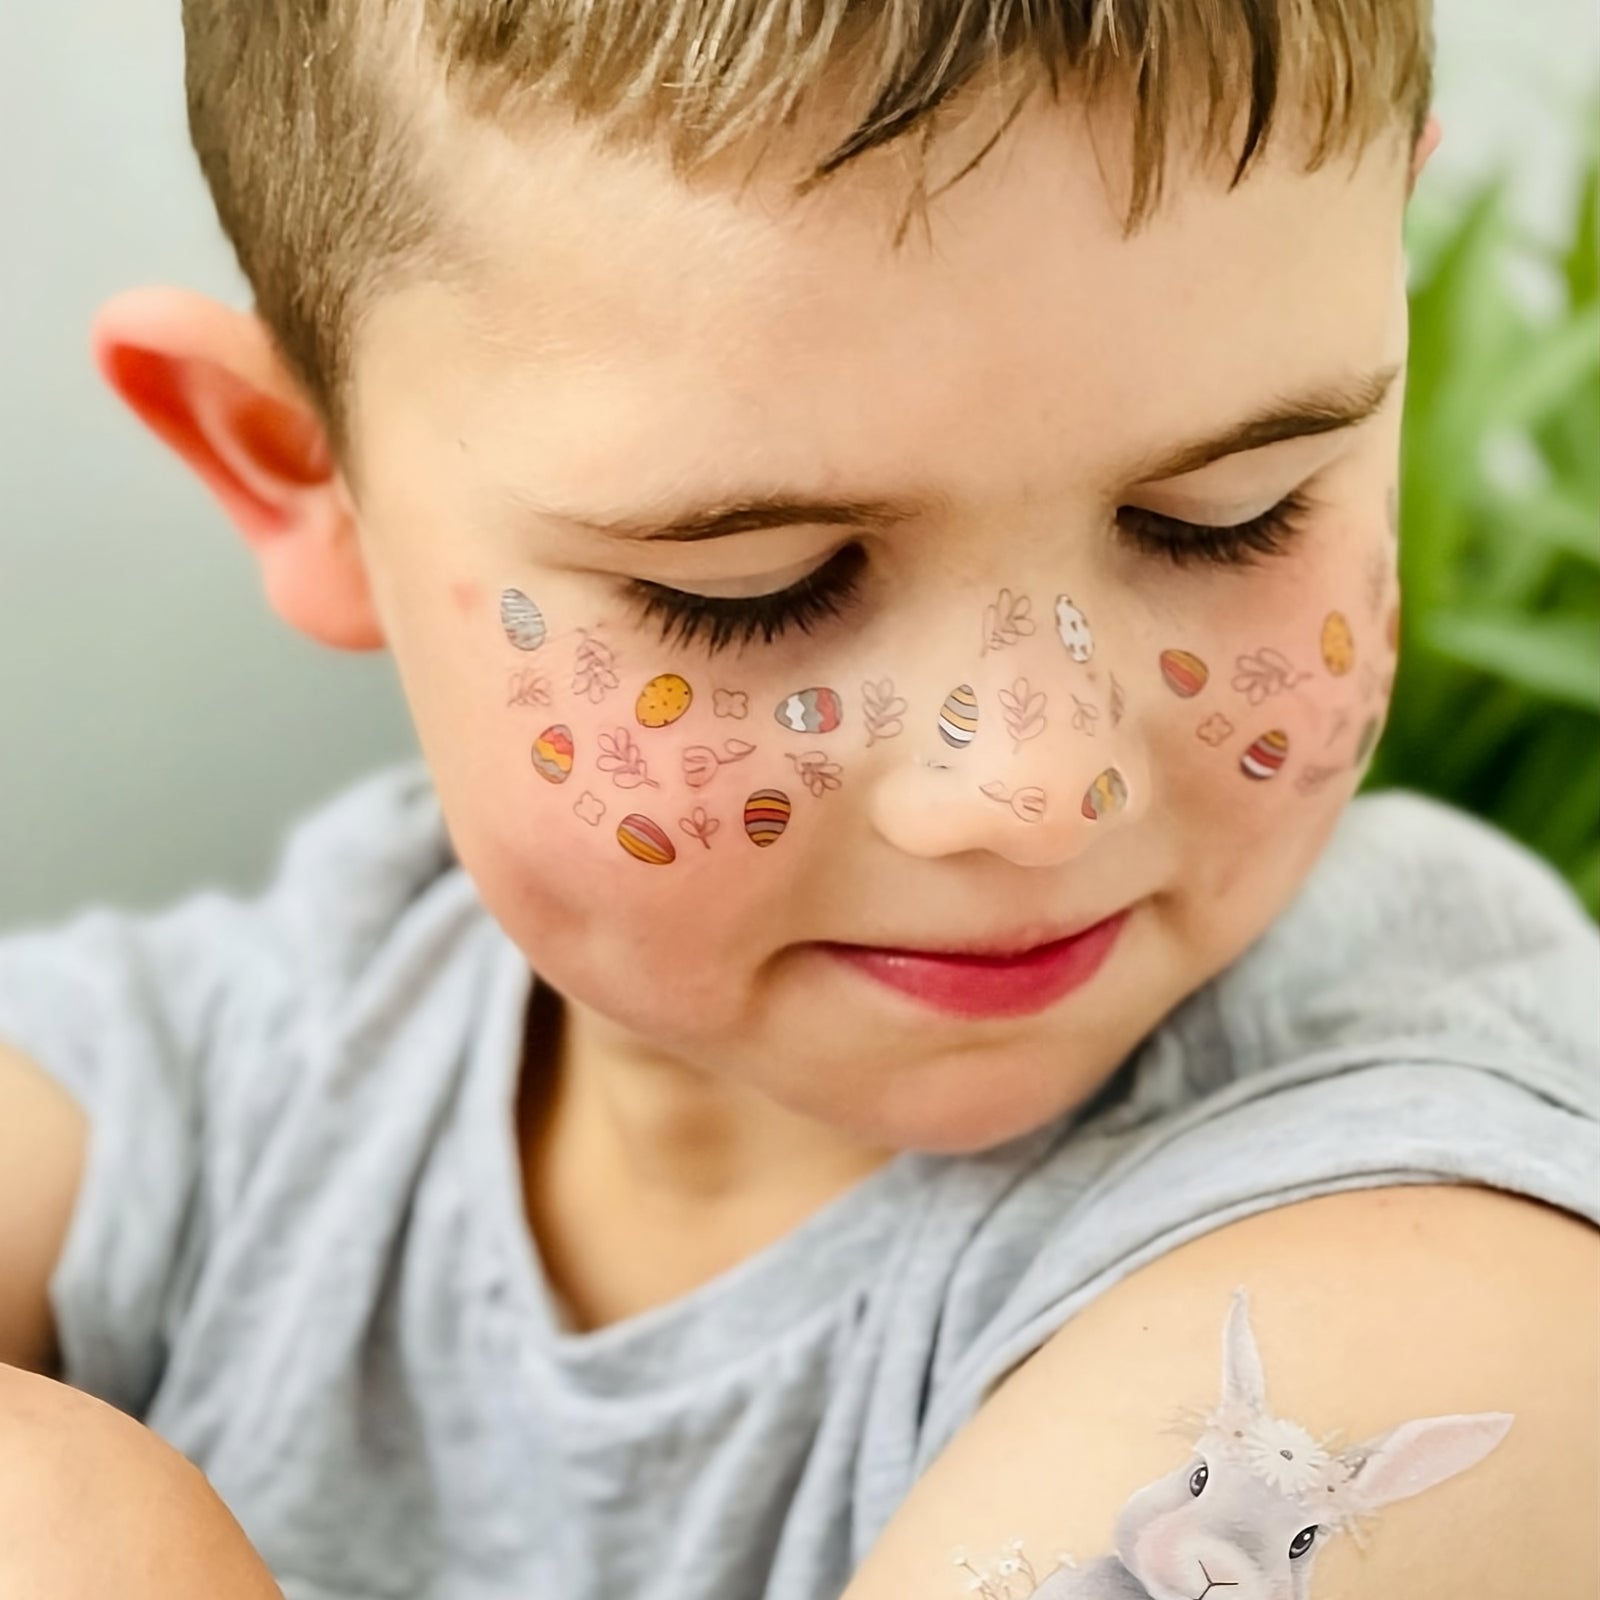
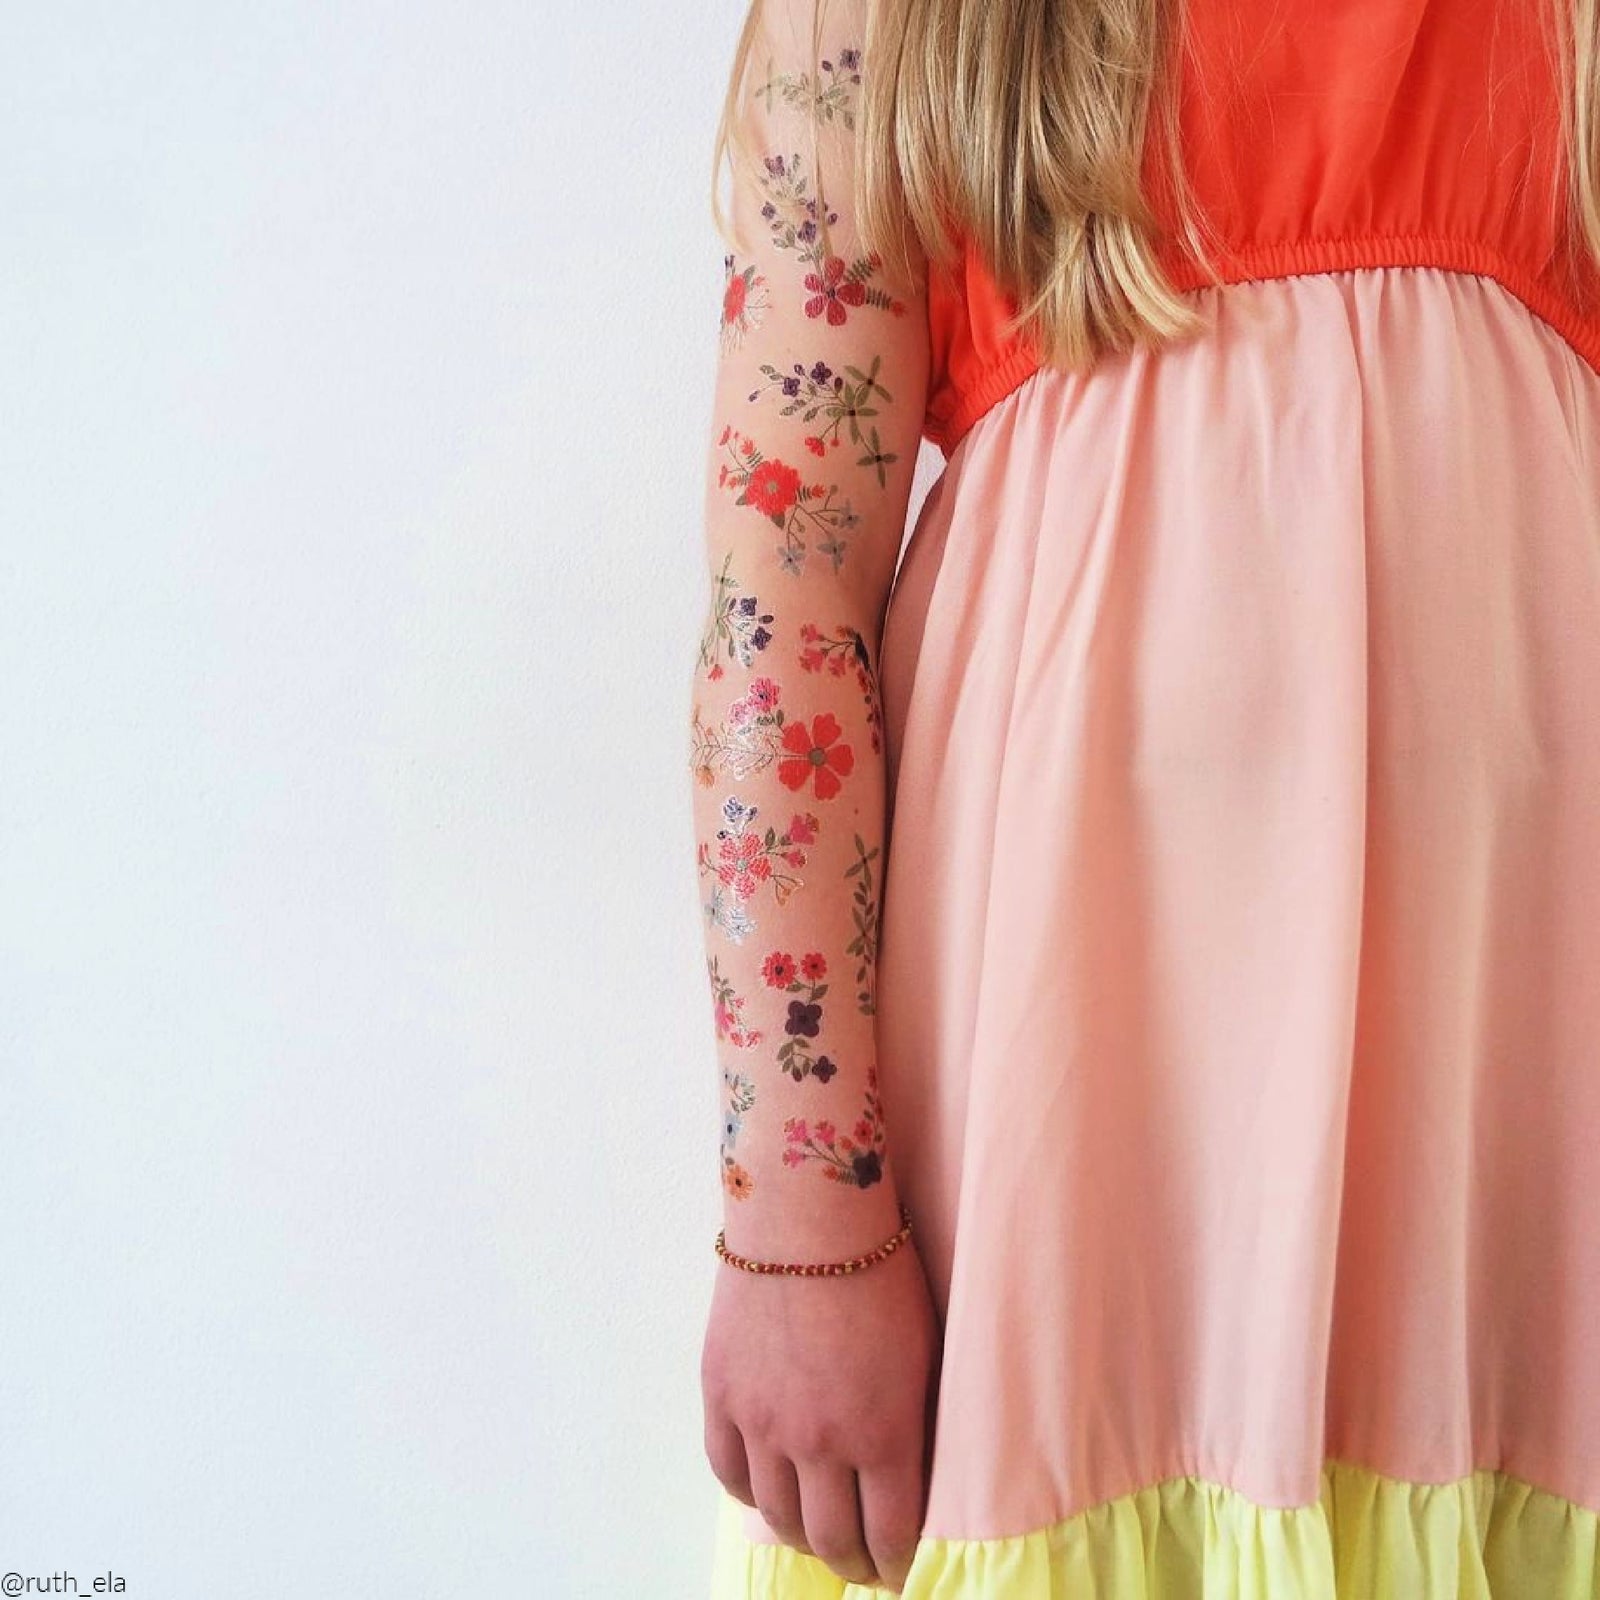
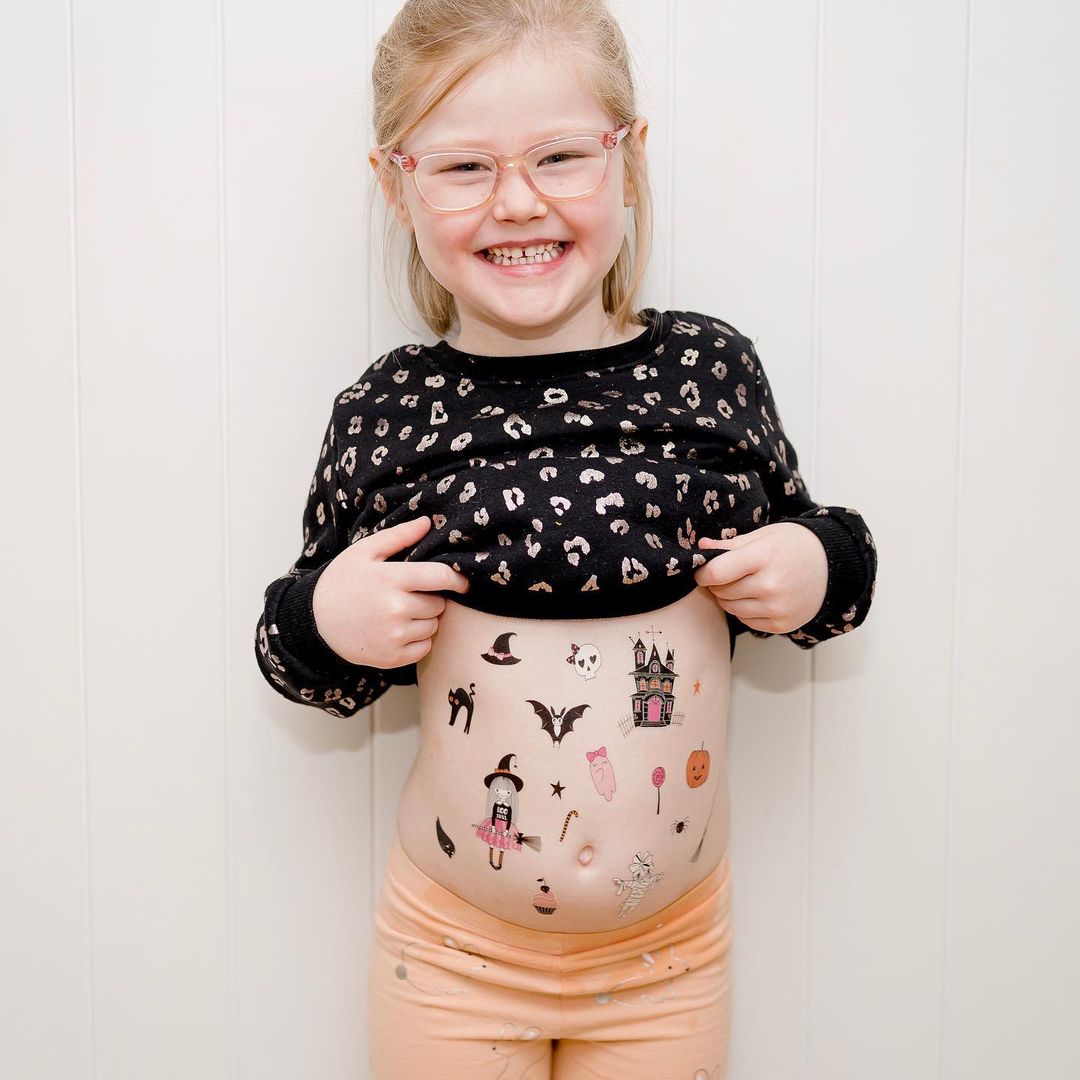
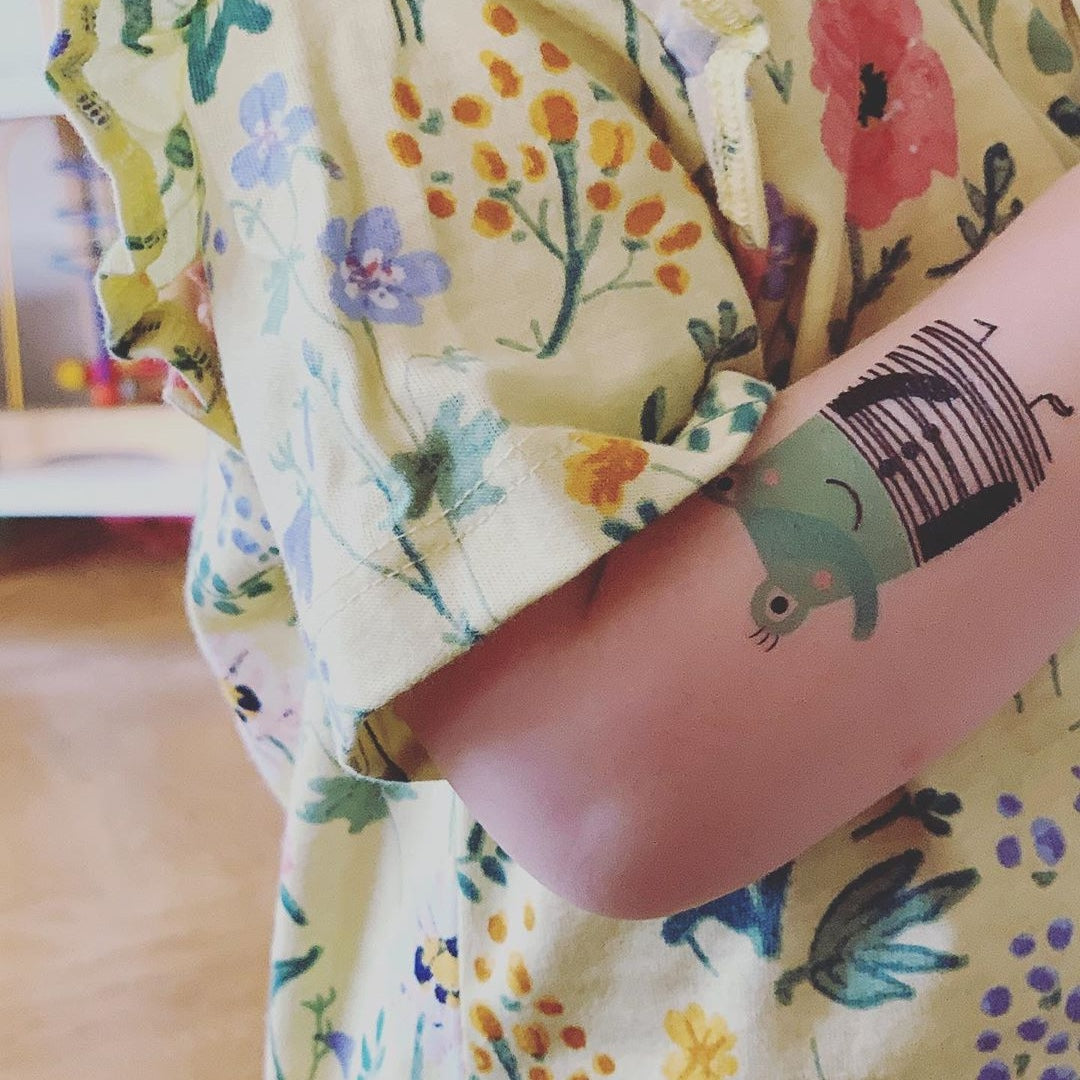
- Skin should be clean, dry, and free of makeup. Apply on oil-free and not-hairy areas where skin does not stretch.
- Carefully cut the tattoo from the sheet (if necessary).
- Remove the transparent film, don’t touch the sticky surface.
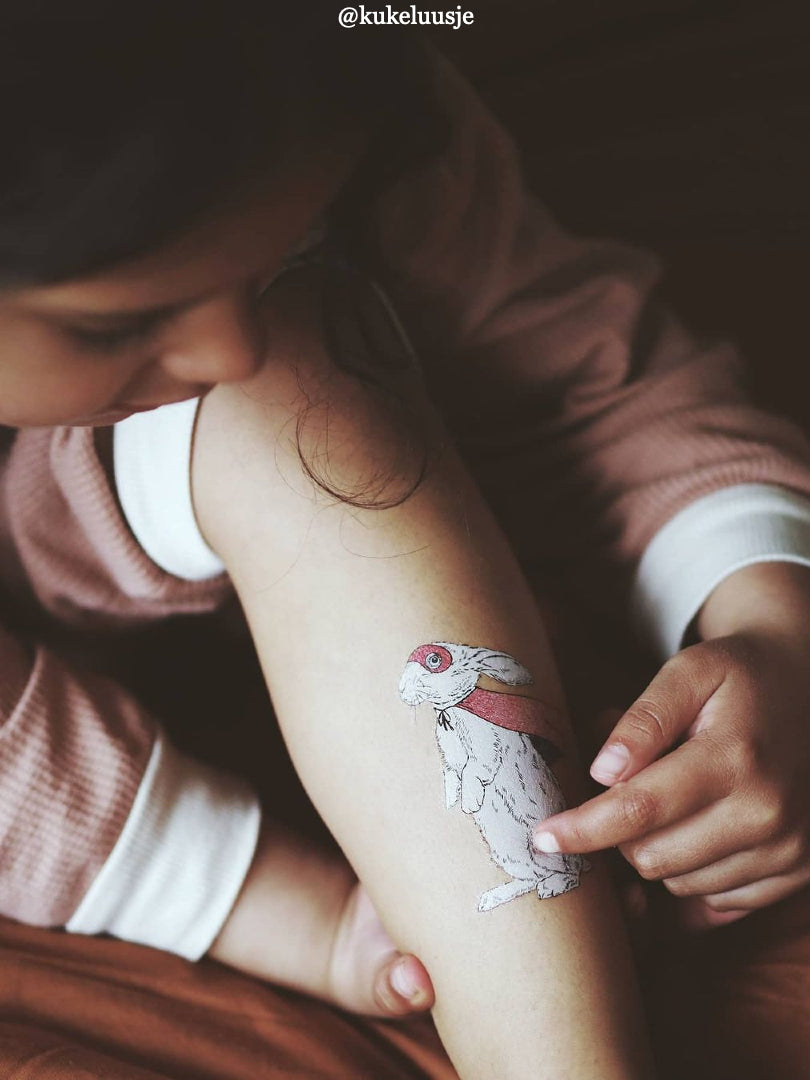
- Place the temporary tattoo face down on the skin.
- Wet the tattoo with a damp cloth or sponge.
- Press and wait for at least 30 seconds.
- Carefully lift a corner and smoothly remove the tattoo paper.
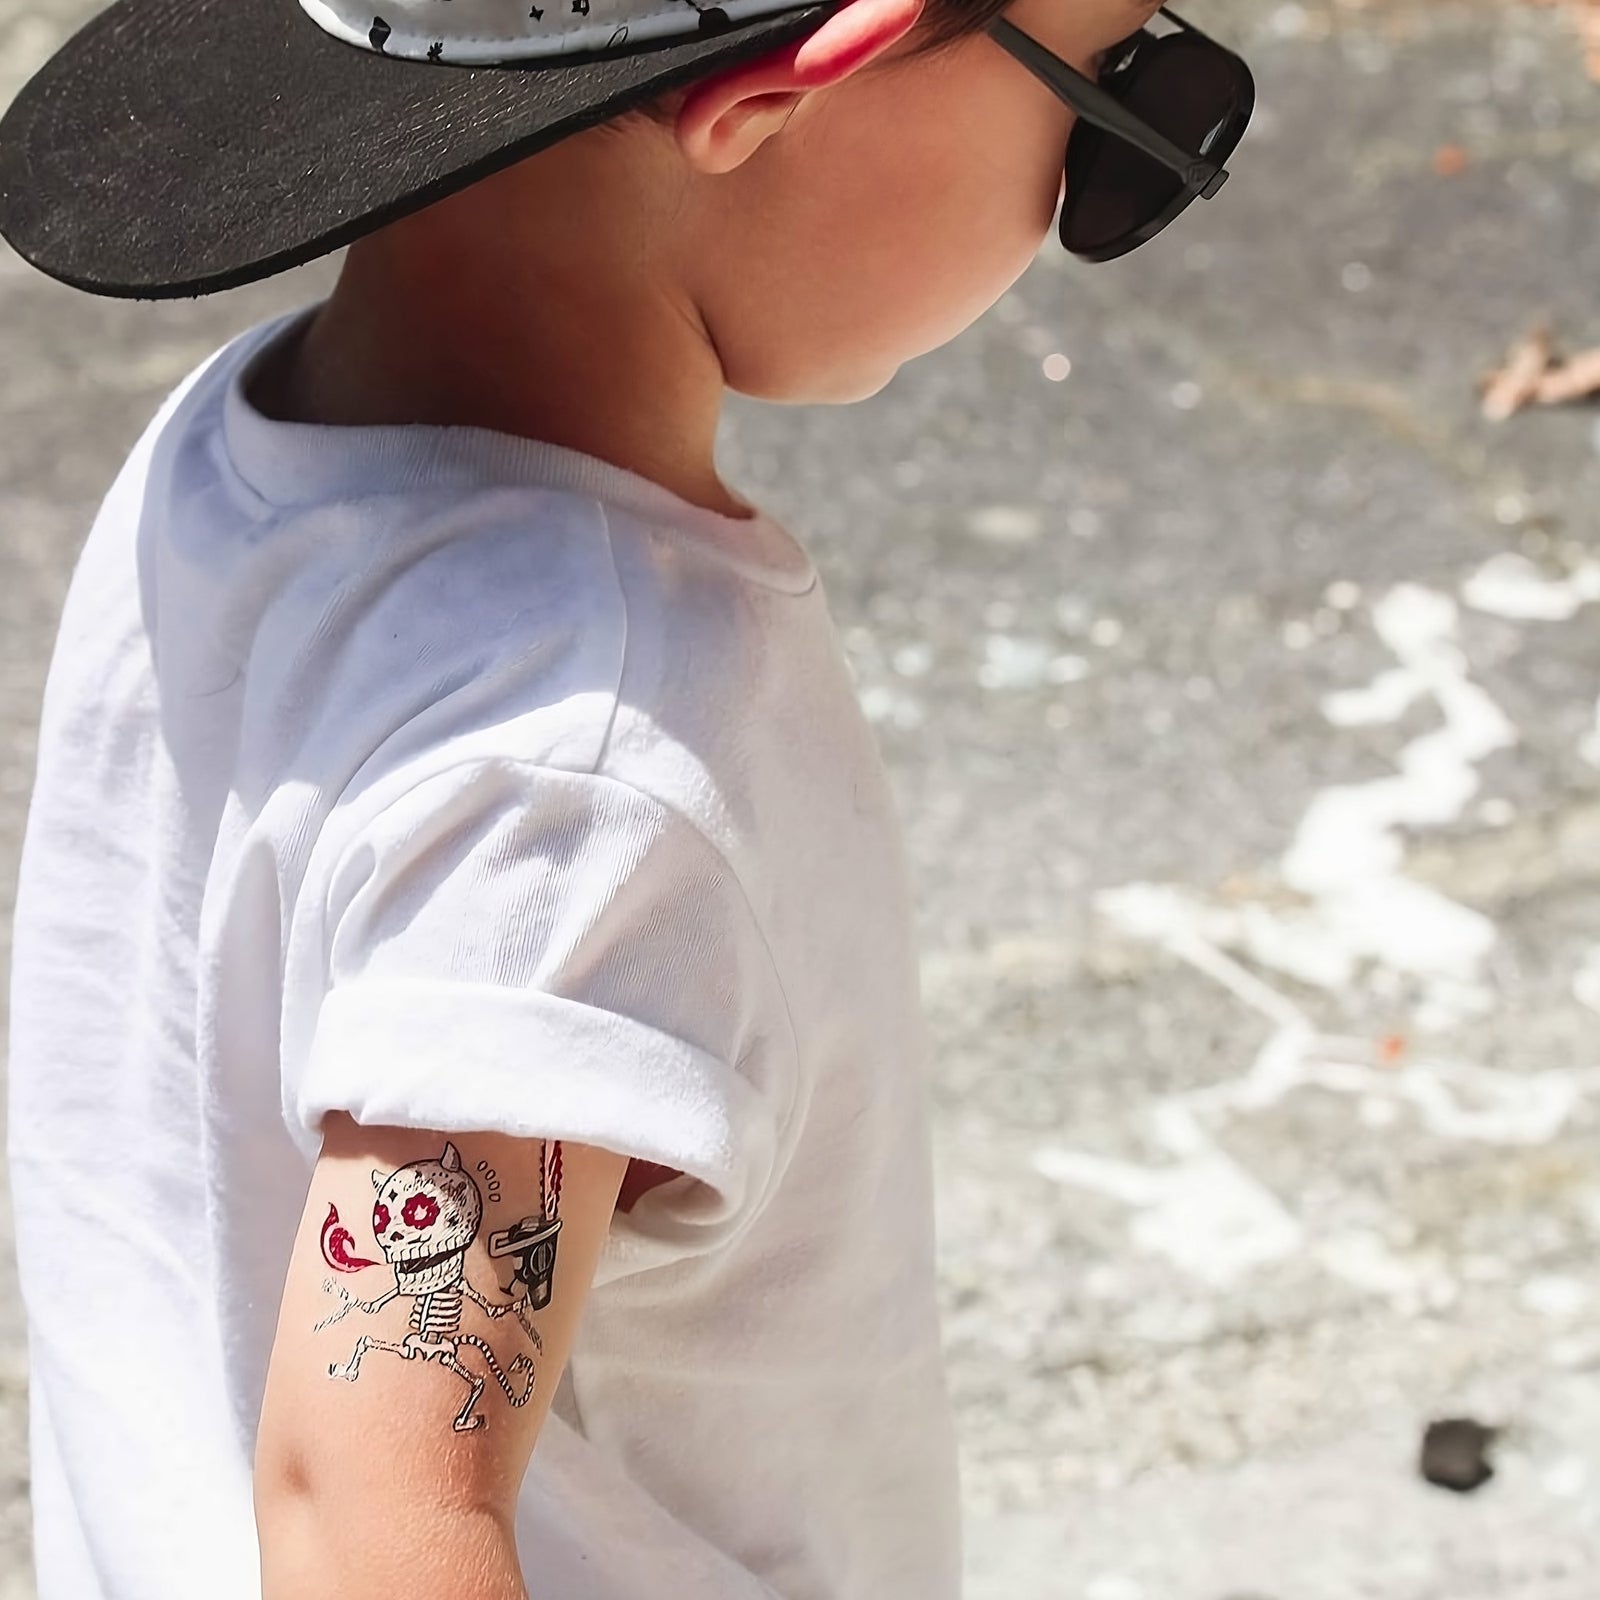
- Enjoy and show off to your friends!
REMOVE
Dab the baby oil on the tattoo and let it soak in for a minute or so before gently wiping it away with a moist wash cloth or sponge.
USE AS DECALS
- Tattoos are great for skin and, actually, for any other surface!
- Wash and wipe the surface off with a soft dry cloth.
- Apply the same way as on skin.
- Gently remove excess water from the surface with a napkin.
- Let it gets dry.
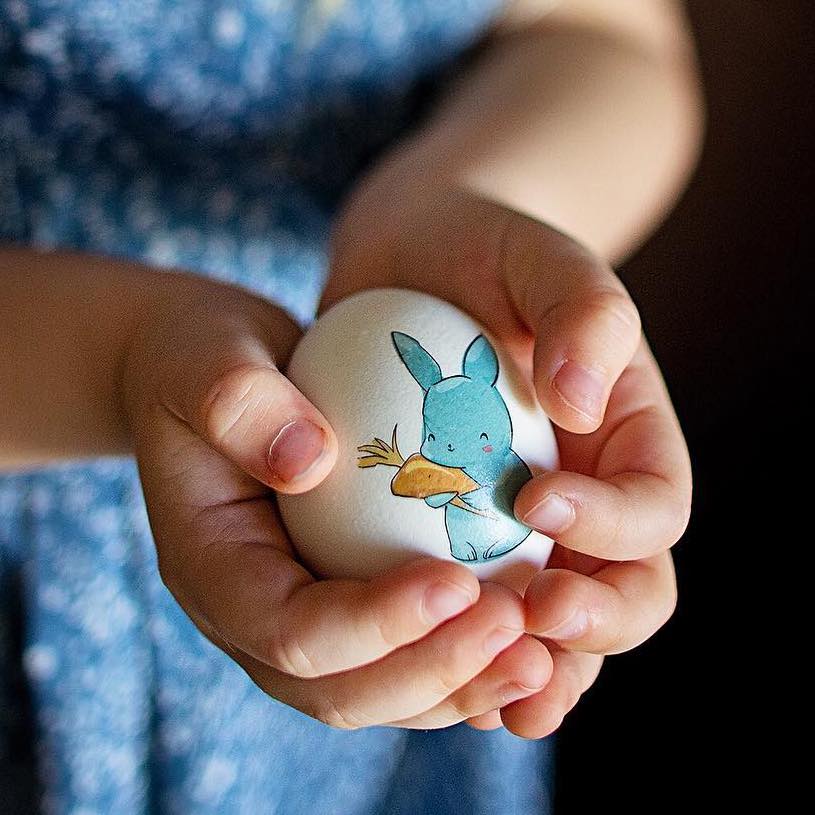
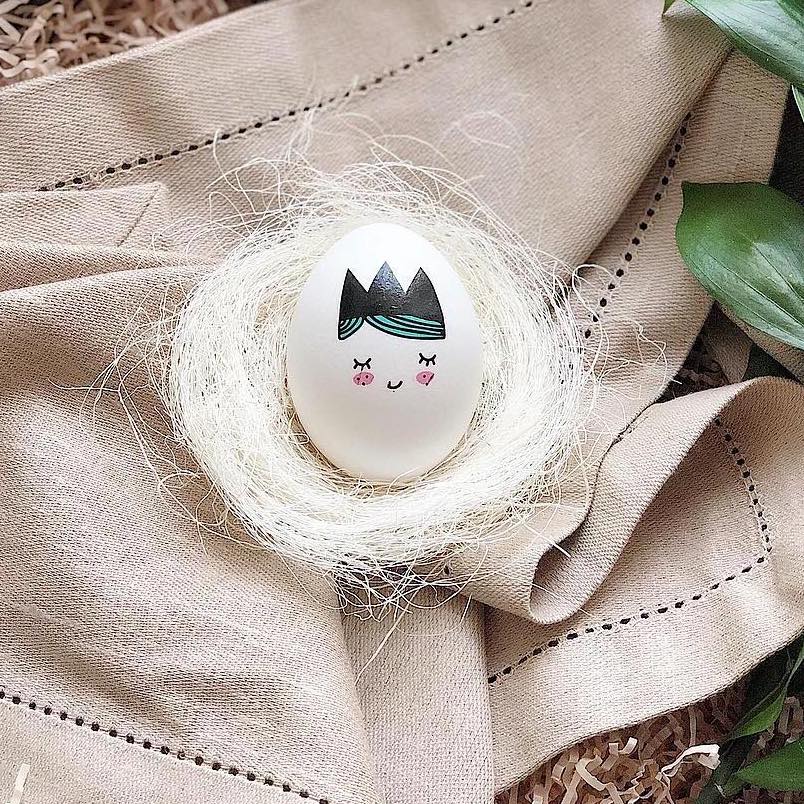
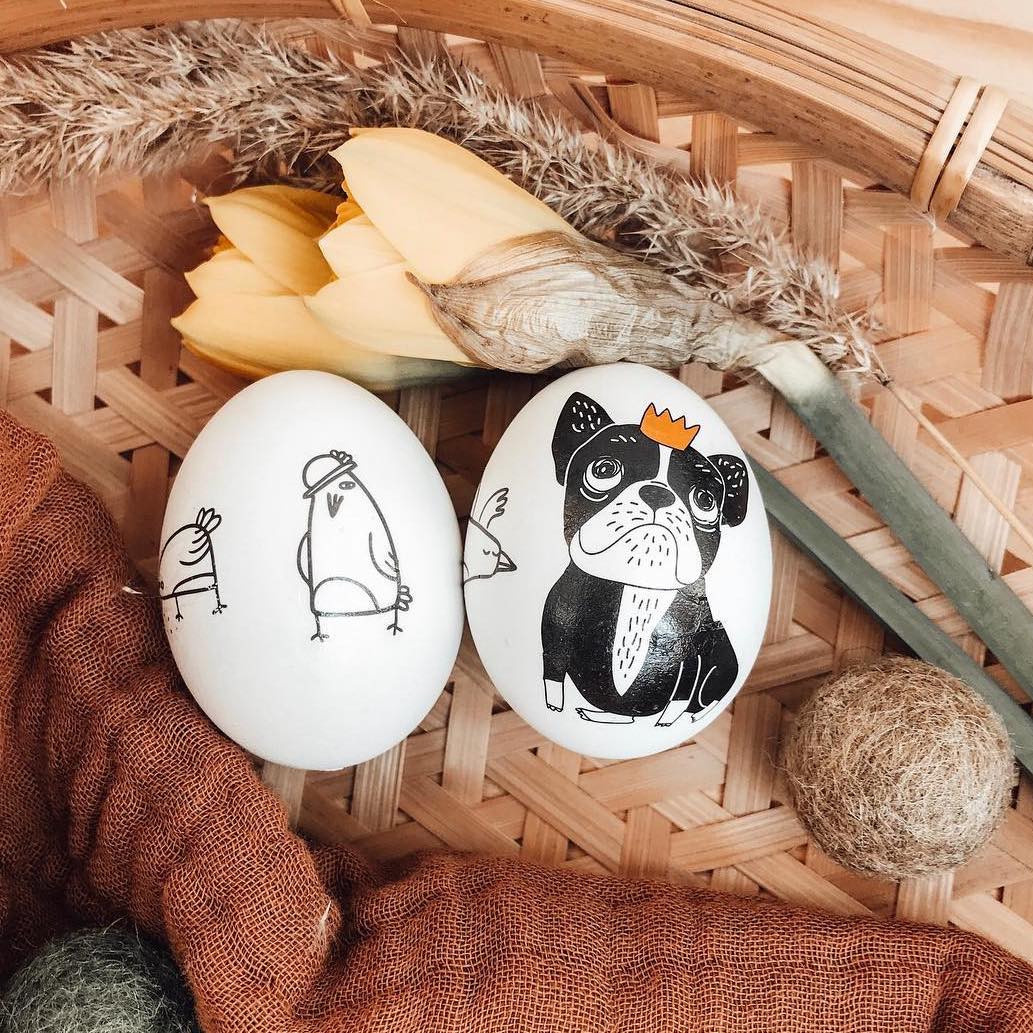
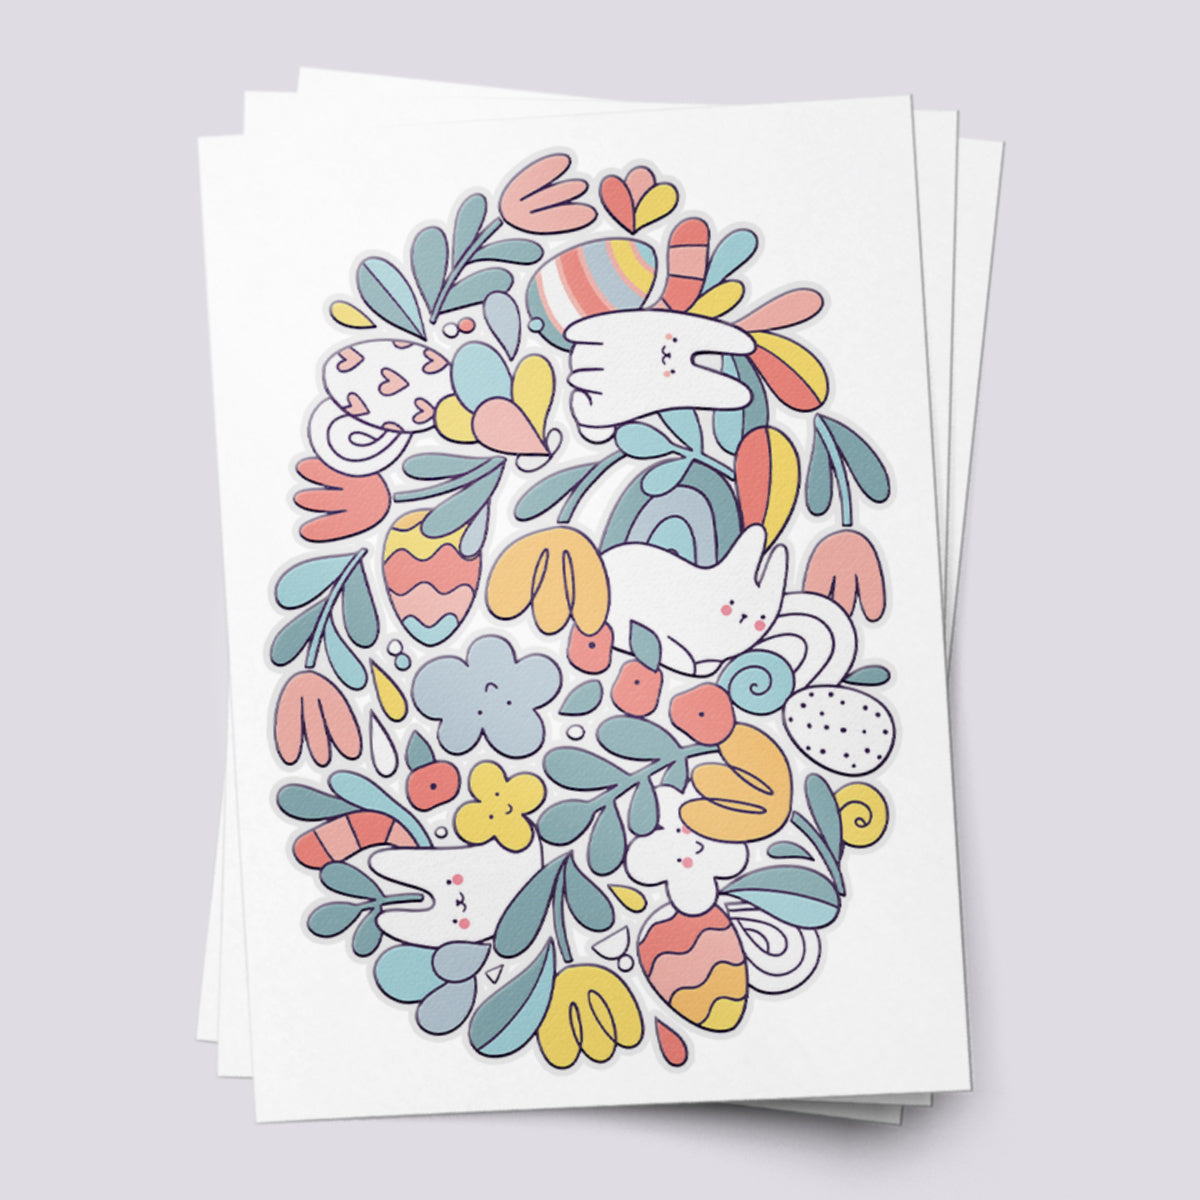
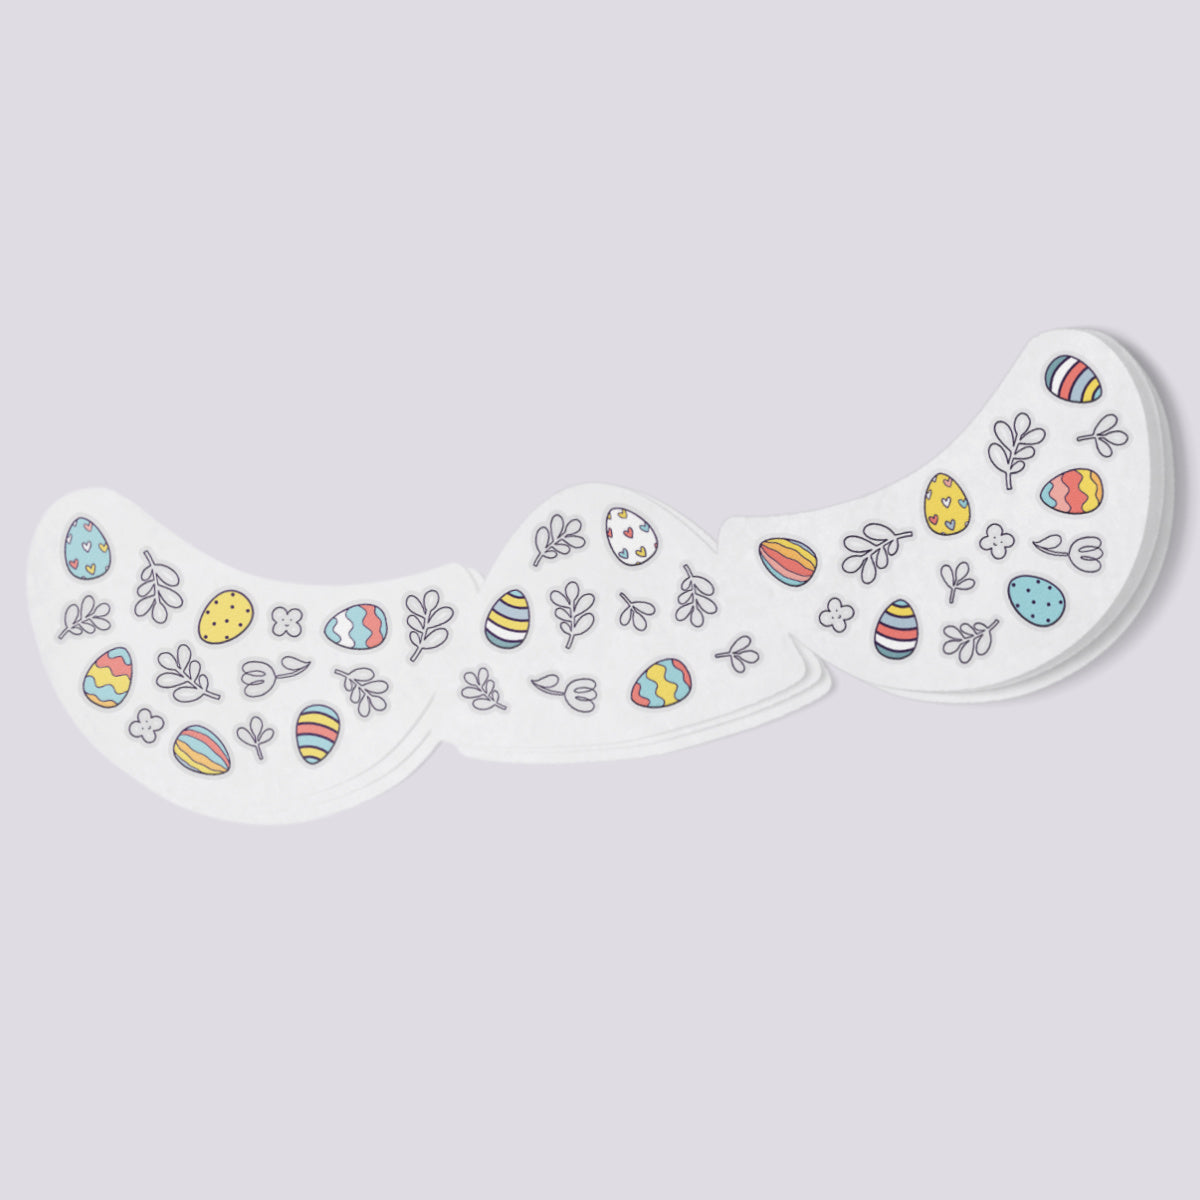
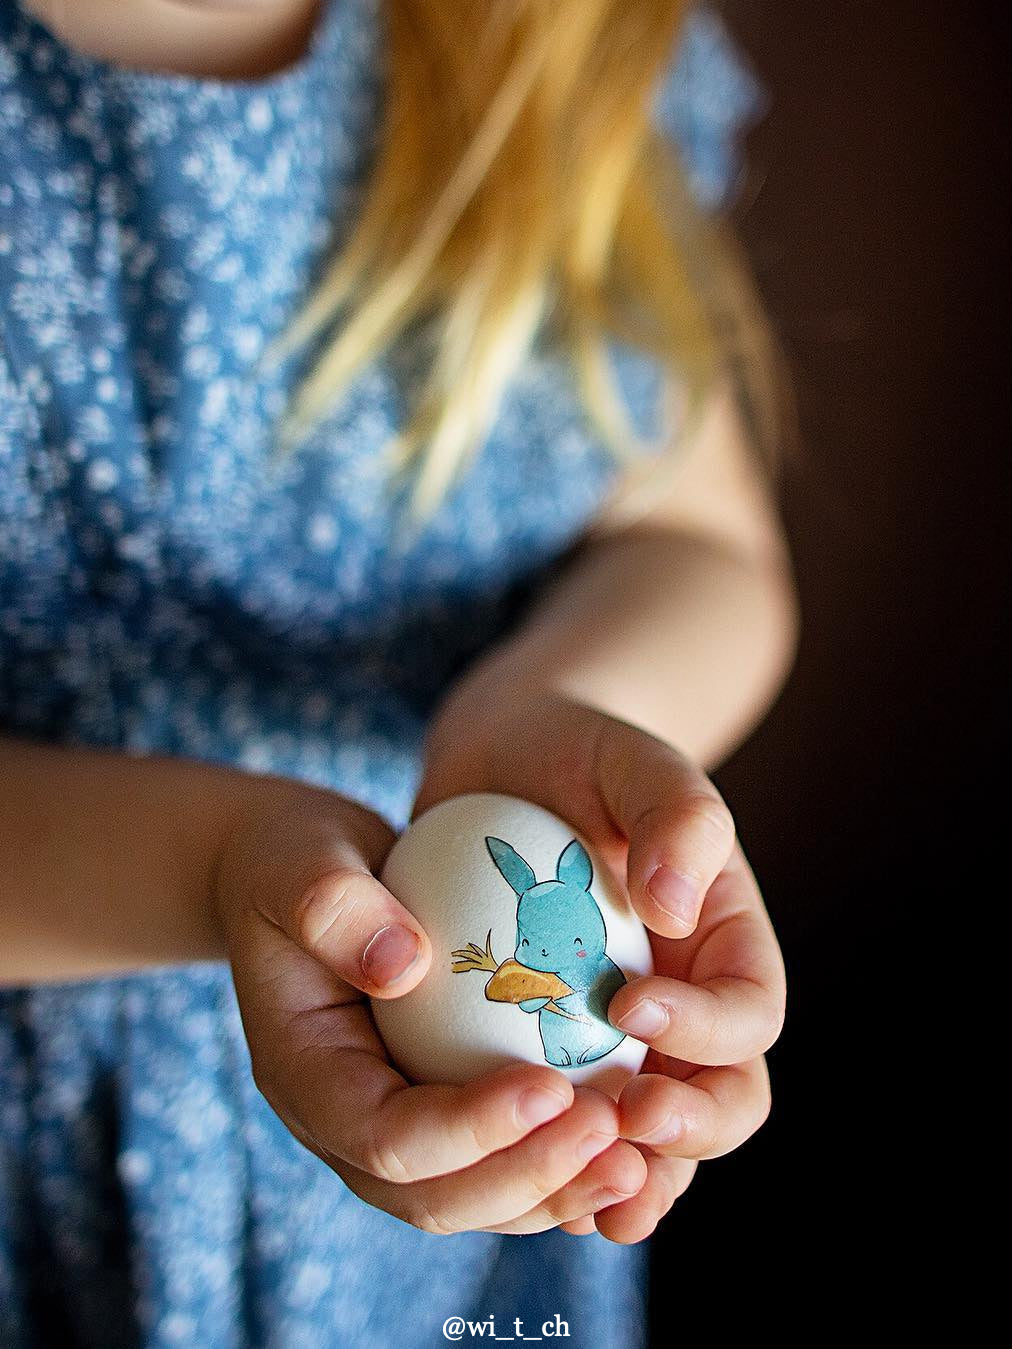
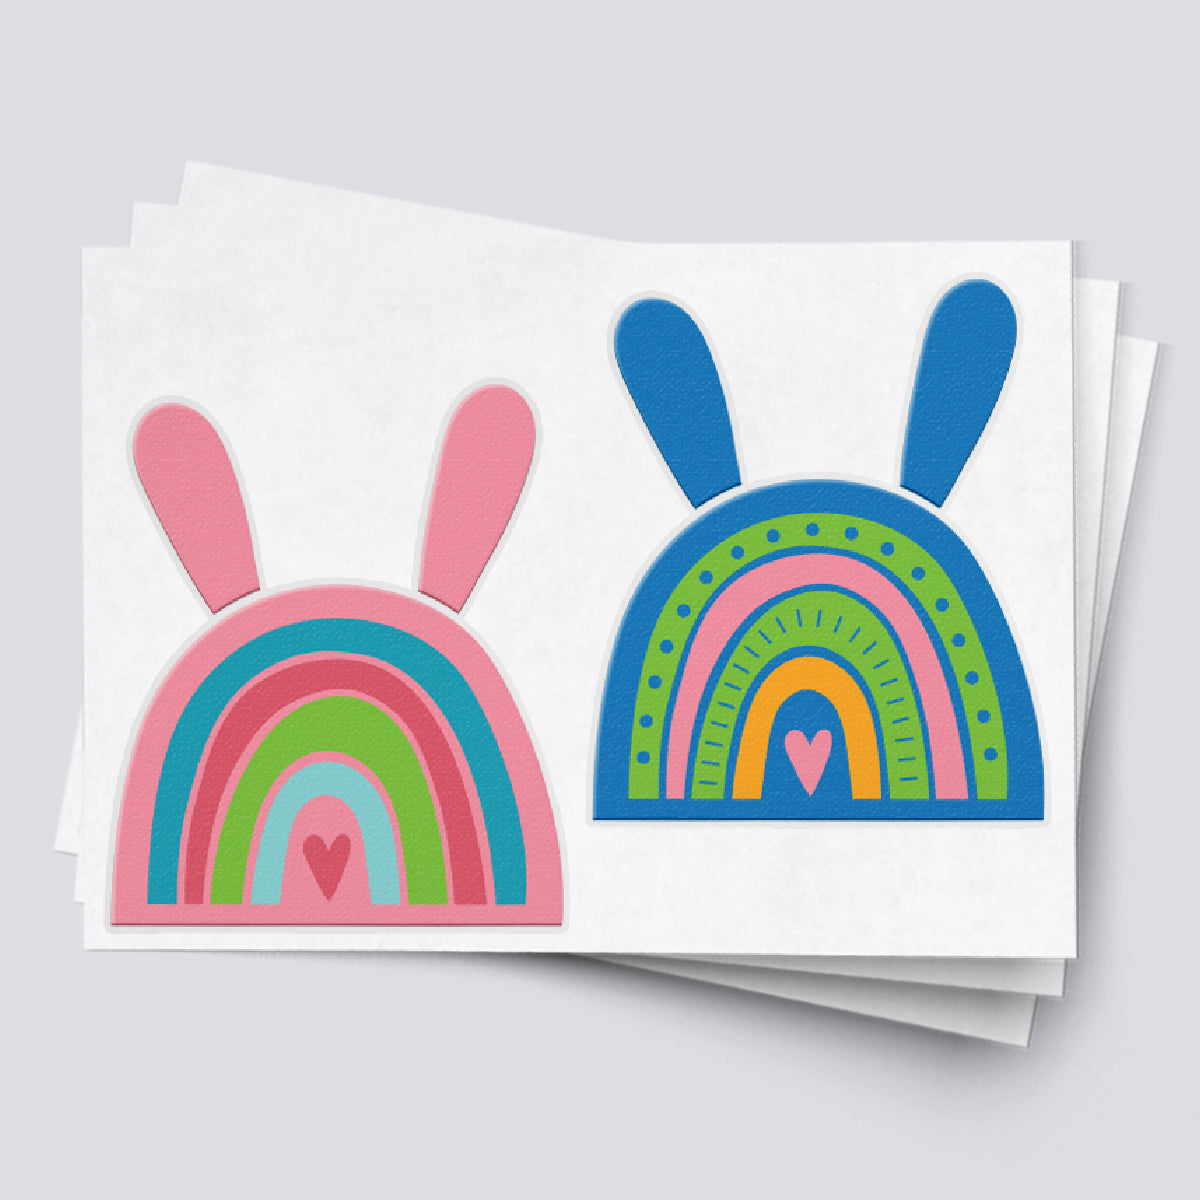
EASTER EGGS
The idea of using temporary tattoos for decorating Easter eggs is simply fantastic. We personally are absolutely in love with everything bright and creative, so the eye-catching eggs is our must have for this Easter celebration.
Having an egg-celent Easter can be pretty fun for both kids and grownups. To create “fancy” and colorful decal eggs, all you need is our temporary tattoos and some imagination.
Our sticker tattoos are perfect for decorating Easter eggs and actually you can decorate with them different accessories from Easter baskets to cups. Each decorated egg become unique and a real Easter egg hunt trophy!


Sale
New
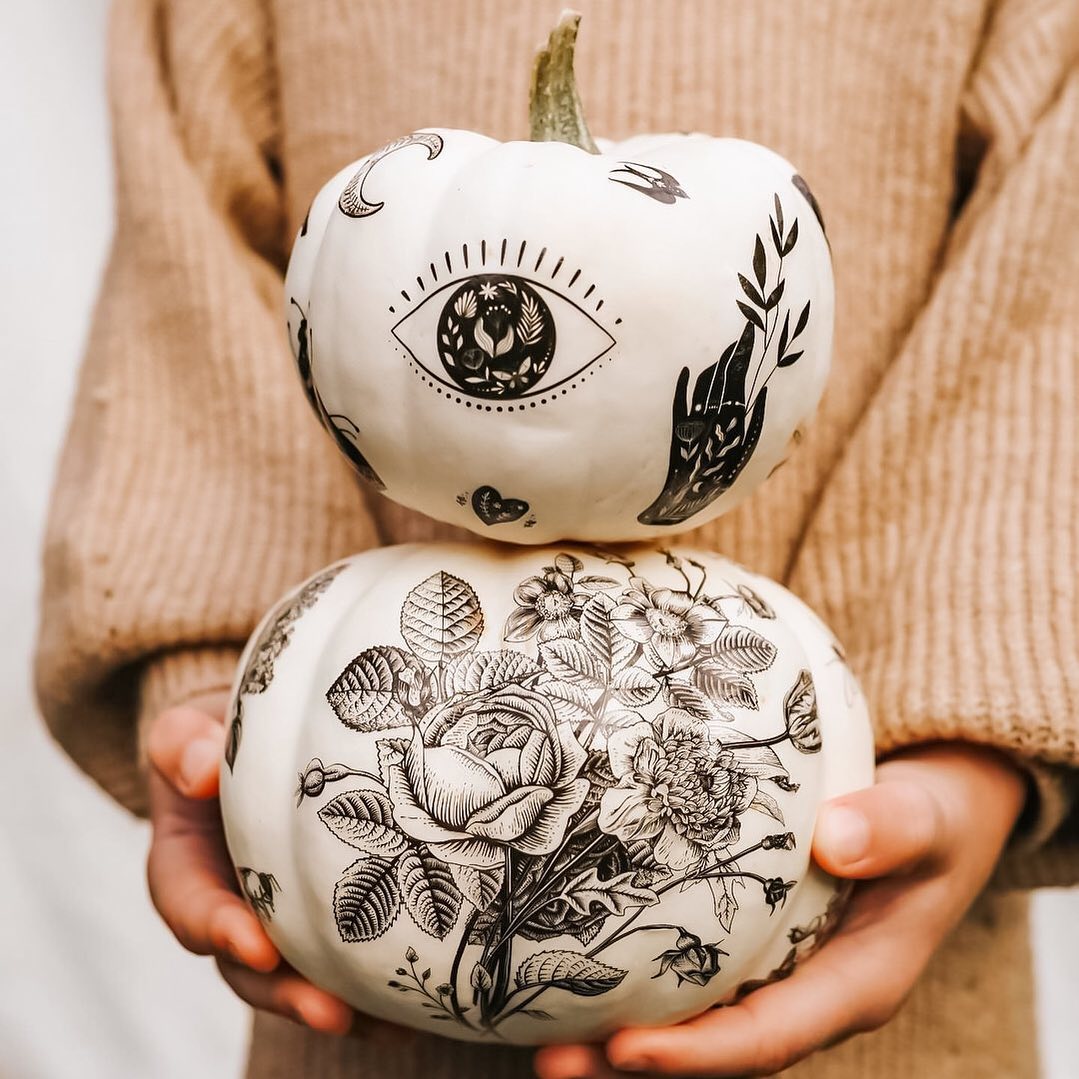
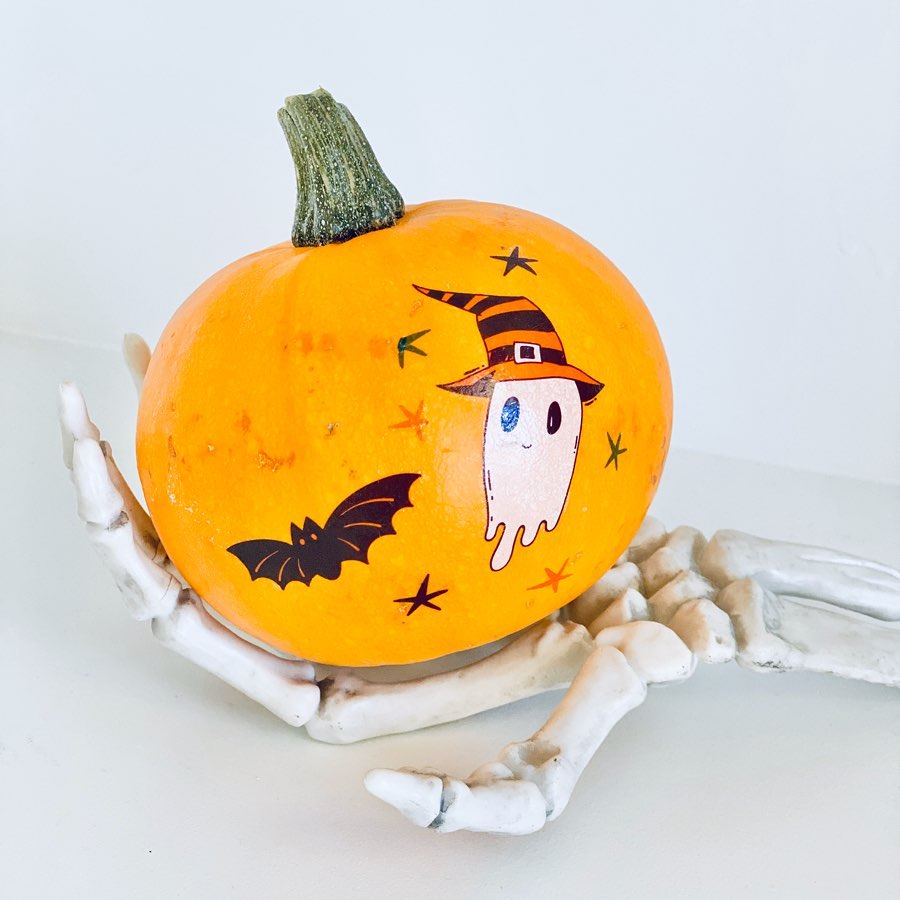
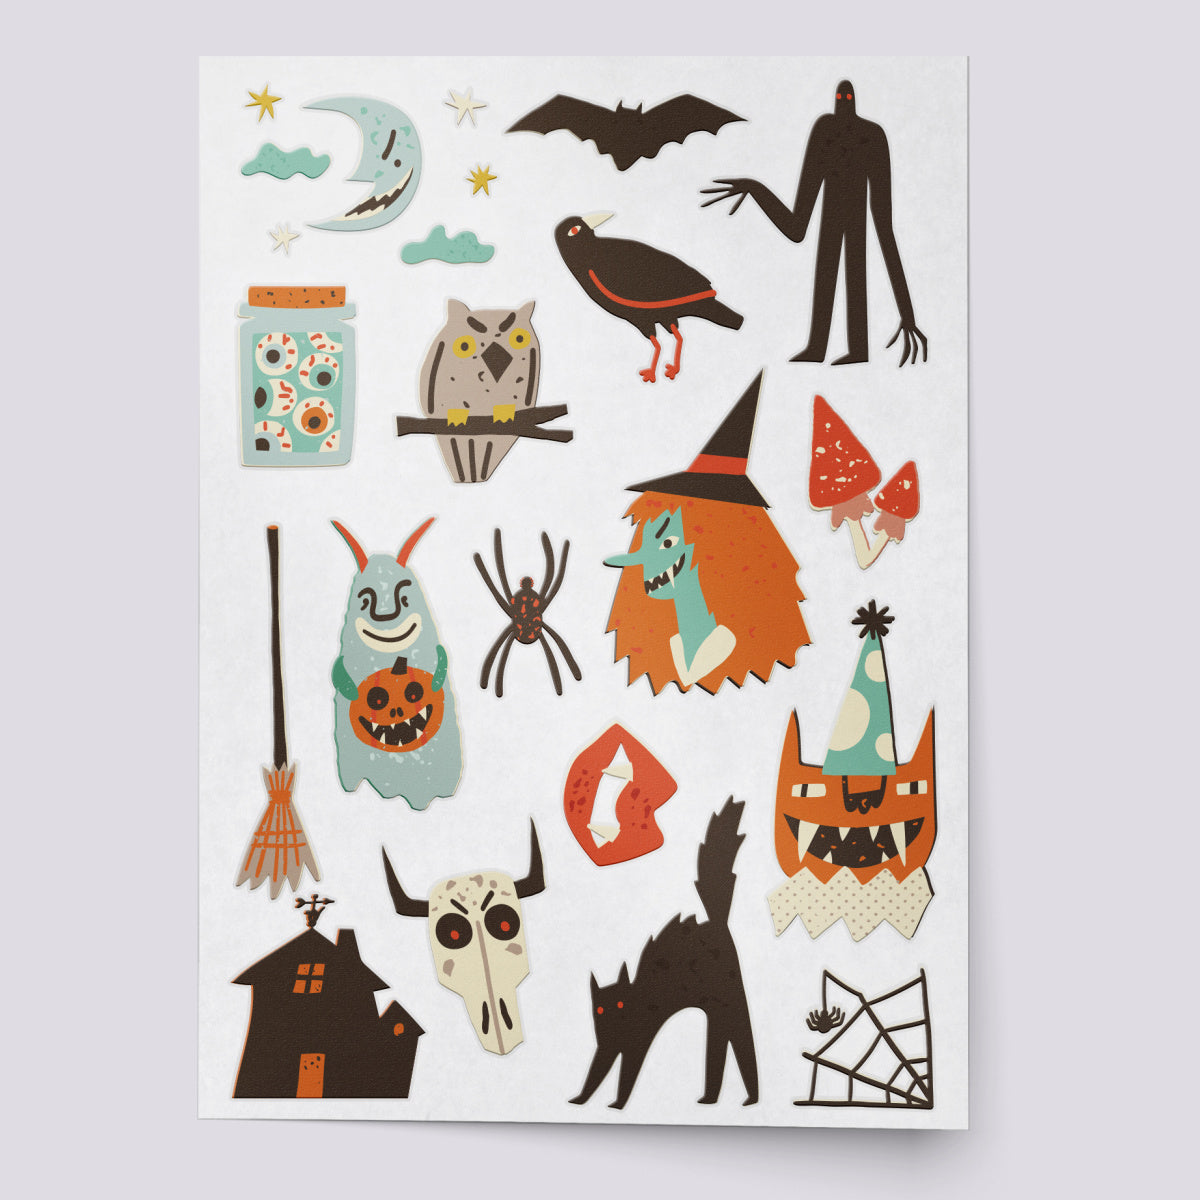
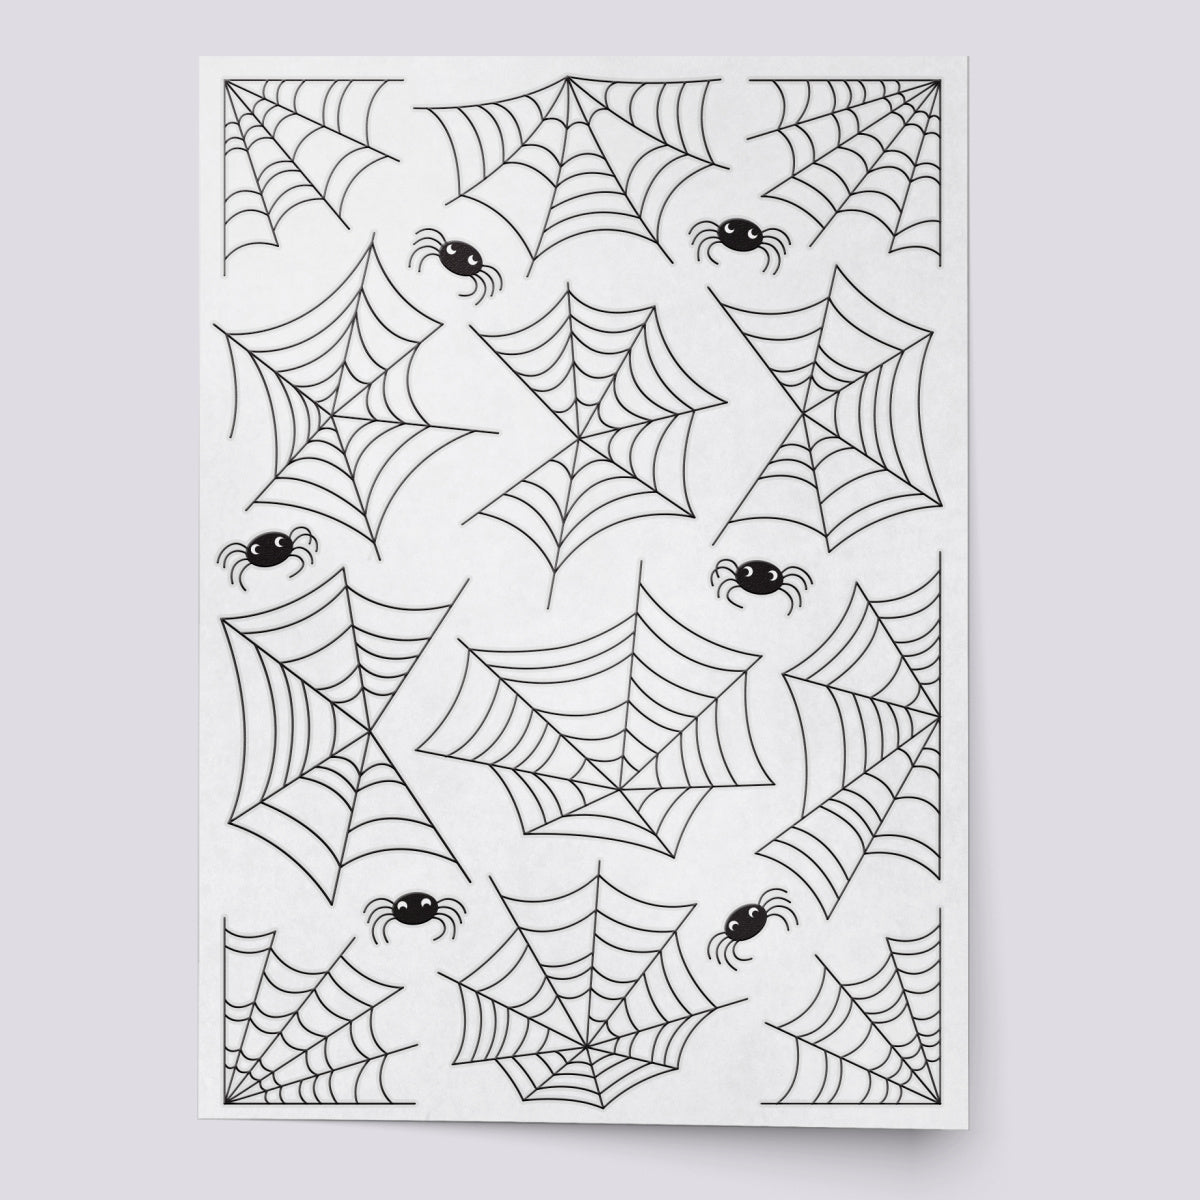
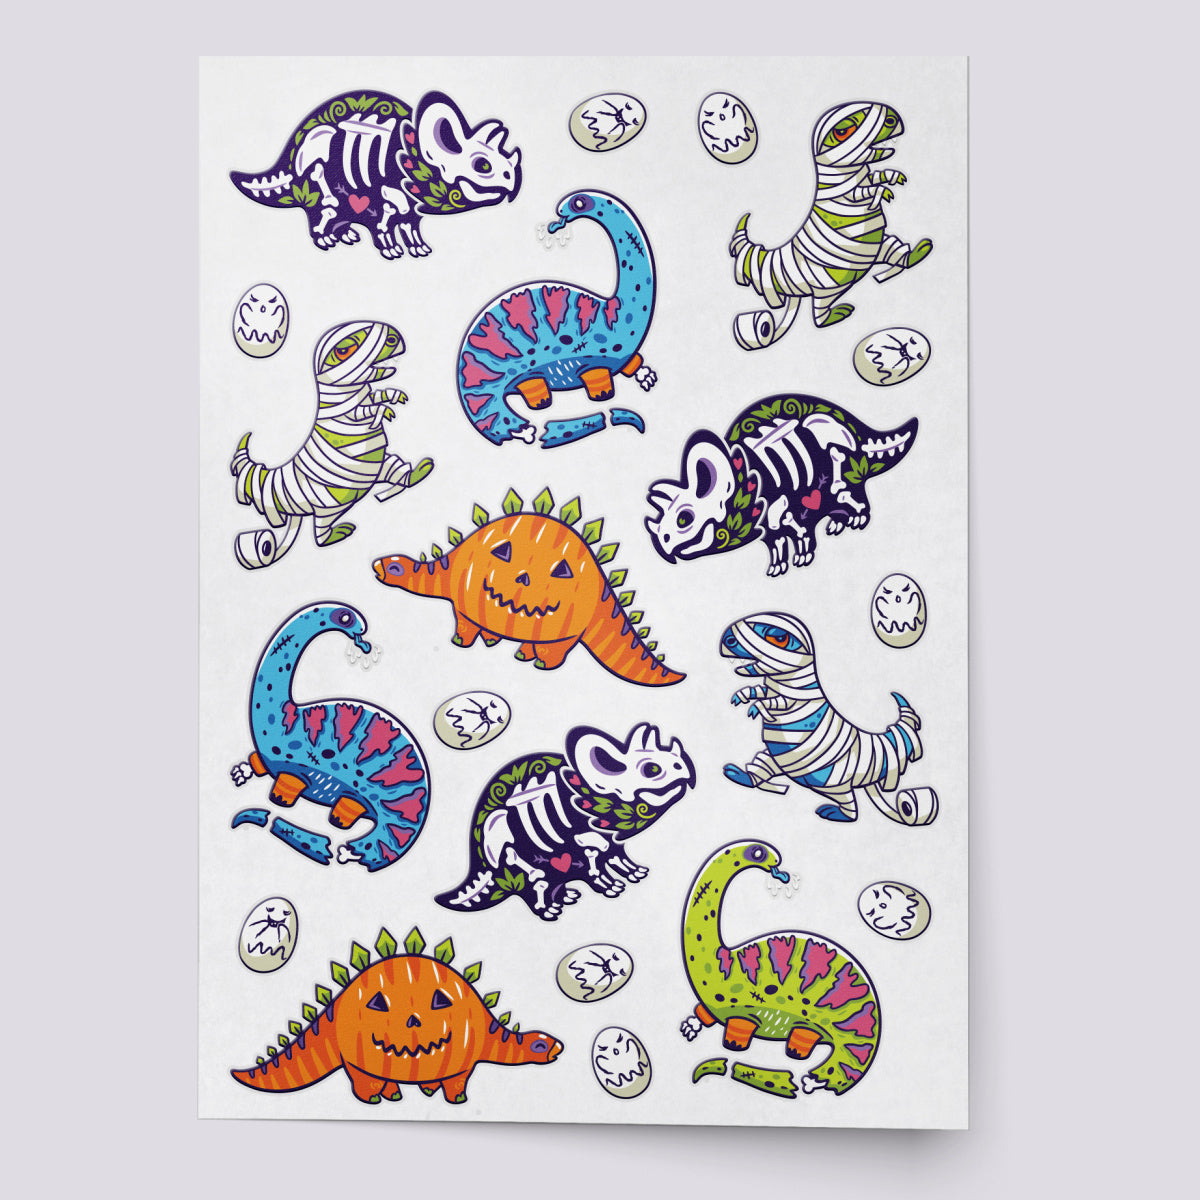
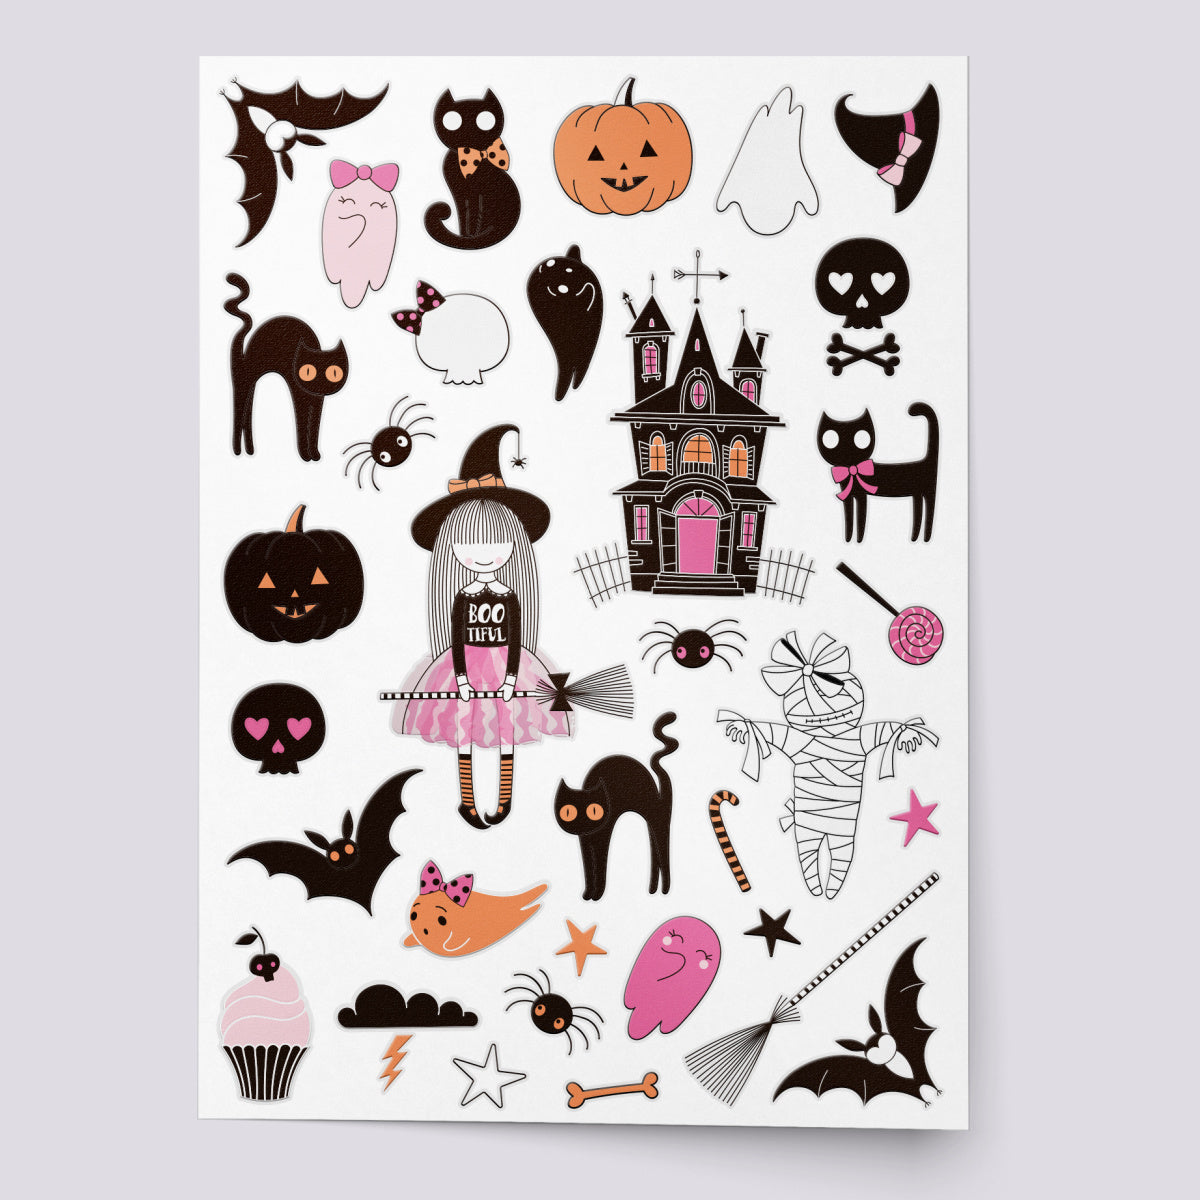
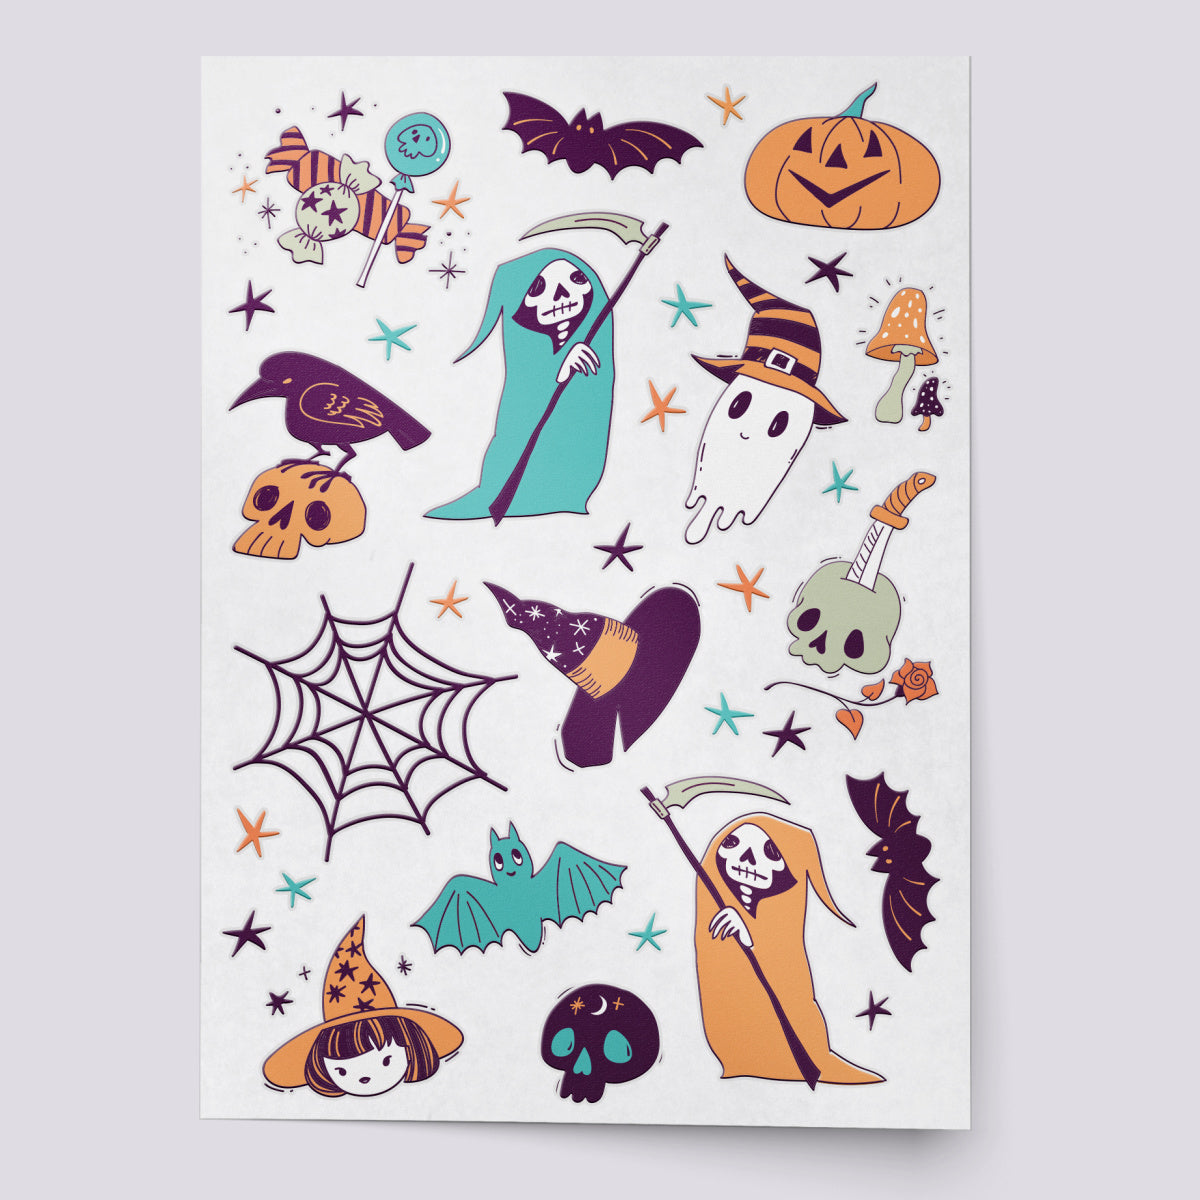
HALLOWEEN PUMPKINS
- Make bootiful pumpkins and decorate your home for Halloween:
- Prepare a pumpkin: If you are using a natural pumpkin, we recommend painting it white. This will ensure the brightness of the tattoos and the durability and ease of application. If you want to keep the natural color of the pumpkin, then cover it with a transparent base. Keep in mind, tattoos are translucent, so the color of the pumpkin will affect the color of the images.
- Cut the paper close to the design, it will make the application easier.
- Wet
- Remove the plastic top from the tattoo and place the artwork on the dry pumpkin. Get the back wet, make sure the paper is completely soaked through. We recommend using a sponge!
- Press down firmly and gently with your damp sponge for at least 30 seconds.
- Slowly peel away the paper backing. Try peeling from the other direction if you are having trouble with the transfer.
- Your pumpkin is dressed up and ready to go!


Sale


Sold Out